
Last updated November 17, 2026
 Driveway & pavers
 Kitchen remodeling
 Bathroom remodeling
 Home additions & ADU
 Roofing
 Windows & doors
 Fence
Free written scope consultation - allowances, timeline, and change-order rules on paper before a single trade is scheduled
Driveway & Pavers Troubleshooting: Common Problems and How to Fix Them
That one sunken paver by your car door probably isn’t just one sunken paver. In South Florida’s rainy season, a single low spot is usually the first visible sign of a base that’s washing out underneath. We’ve pulled up “one bad paver” in Miami Gardens and found two inches of pump sand missing and a joint that had been channeling water for a season and a half. The good news: a paver driveway tells you what’s wrong before you spend a dime, if you know what to look at. This guide gives you a diagnostic framework so you can sort a quick Saturday fix from a problem that needs a crew before the repair gets expensive.
Quick Answer
Most paver problems fall into two buckets: cosmetic issues you can handle yourself (efflorescence, algae, joint weeds) and structural issues that need a professional (sub-base failure, widespread sinking, migrating pavers). The trick is telling them apart. A garden hose, a four-foot straight-edge, and a concrete block will separate the two in about twenty minutes. If water pools more than half an inch in one spot and the pavers around it rock when you step on them, you’re looking at the second bucket.
Styles & brands we work with
- Kitchen remodeling
- Bathroom remodeling
- Home additions & ADU
- Roofing
- Windows & doors
- Driveway & pavers
- Fence
Table of Contents
- The 20-Minute Diagnostic: Is It Settling or Base Failure?
- Why Efflorescence Looks Alarming (And When It Isn’t)
- The Weeds That Take Over South Florida Paver Joints
- Identifying Stains Before You Buy a Cleaner
- Why Pavers Shift During Hurricane Season
- What a Legitimate Paver Repair Quote Includes
The 20-Minute Diagnostic: Is It Settling or Base Failure?
Grab a garden hose and a four-foot level or straight-edge. Put the level across the low spot in three directions. You want to know two things: how deep the dip is, and whether the pavers move or sound hollow underfoot.
- Measure the dip. Set the level across the sunken area and slide a ruler under the low end. Less than 3/8 inch over four feet is normal settling and you can reset or lift the individual units. More than 1/2 inch means the base underneath has lost material.
- Walk it and listen. Compaction failure makes a hollow, rocking sound. If the pavers click when you step, the bedding layer dust has migrated away. That’s a repack at minimum.
- Run water slowly over the spot. Watch where it goes. If water disappears into the joint between pavers, your joint sand has eroded. If it pools on top and stays there after five minutes, the pitch is wrong or the base has settled. Both are structural.
- Pull one paver. Use a small flat bar or a screwdriver under the corner. Look at the sand layer. If you see void spaces or loose, muddy sand instead of compacted, dust-colored bedding sand, the base wasn’t built right or water’s been under it for a while.
- Check for a source of water. Downspouts, gutter runoff, irrigation heads aimed at the drive, a low spot where the neighbor’s yard drains. In Miami Gardens, we regularly find that the “sunken paver problem” is actually a downspout dumping onto the driveway after every thunderstorm.
Normal settling gets a reset. Base failure gets excavation. If you skip the diagnosis and just pour sand in the joint, the water still has nowhere to go and you’ll be back at it next wet season. That’s the whole thesis of this guide, and it’s why we tell homeowners to look under the pavers before spending anything.
Why Efflorescence Looks Alarming (And When It Isn’t)
That chalky white haze on your pavers isn’t damage. It’s efflorescence – mineral salts drawn to the surface as moisture evaporates. In Miami Gardens it shows up most after the first dry week following a wet stretch, when the ground is still holding water and the surface dries fast. On a newer installation (under two years), it’s common and usually cosmetic. Scrub it with a stiff nylon brush and a mild acid cleaner made for pavers, rinse well, and let the driveway dry completely. Repeat in a few weeks if it comes back. Most of the time it fades to nothing after a couple of wet-and-dry cycles.
Where efflorescence actually matters: when it comes back in the same spot every time, accompanied by a damp patch that doesn’t dry. That pattern means water is migrating up from under the base, which points to poor drainage or a broken irrigation line. Another flag is efflorescence that appears on pavers next to a downspout or at the edge where the driveway meets the yard. If the white comes back within days of every rain, don’t buy a second jug of cleaner. Find where the water is coming from.
- Cosmetic efflorescence: even haze across the whole surface, fades after dry weather, no damp patches underneath.
- Moisture-intrusion efflorescence: repeats in the same area, accompanied by soft sand under the pavers, darker joint lines, or a low spot that holds water.
The cosmetic kind is a chore. The intrusive kind is a phone call.
The Weeds That Take Over South Florida Paver Joints
Our climate grows weeds in the joints faster than almost anywhere in the country. The usual suspects in Miami Gardens driveways are Florida pusley, spurge, dollarweed near the edges, and Bahiagrass runners creeping in from the lawn side. The dollarweed is the tell. It grows where the joint stays wet, and if you have dollarweed in your paver joints, your driveway isn’t draining the way it should.
Vinegar seems like an easy fix, and a lot of people try it. Don’t. Household vinegar at 5% concentration kills the top growth but leaves the root, and it does something worse: it degrades the polymeric joint sand faster than rain does. The sand breaks down chemically, joints open up, more weeds germinate, more water gets in. You end up treating weeds every month and buying sand every season.
What actually works:
- Pull by hand in spring and fall. Wet the joint first so the weed comes out root and all.
- Re-sand with polymeric joint sand. This is the single most effective step. Polymeric sand has a small amount of binder that firms up after it’s wet and resists germination.
- Spot-treat with a paver-safe herbicide (glyphosate-based, applied carefully to avoid overspray on surrounding beds) if the joint has been re-sanded and weeds persist.
- Fix the drainage first. Dollarweed and purslane are telling you where water sits. If those are concentrated at one edge, find the source.
We’ve seen full driveways in Miami Gardens where a homeowner spent three seasons pulling weeds that kept coming back. The fix wasn’t more Roundup. It was re-sanding the joints and redirecting a gutter downspout that had been emptying onto the pavers for years.
Identifying Stains Before You Buy a Cleaner
The wrong cleaner on the wrong stain bakes it in permanently. Here’s the field test we use: put a drop of water on the stain and watch what happens.
- Oil or grease: water beads off, the stain is darker than the surrounding pavers, usually near where the car parks. On a concrete or clay paver, use a poultice with a degreaser made for masonry. Do not scrub with a wire brush – it opens the surface and makes it worse.
- Tannin (leaves, tree litter, mulch runoff): brown, water absorbs into it, often concentrated under a tree. Mild oxalic acid, or a diluted vinegar solution. Note: vinegar on tannin stains is fine. Vinegar in paver joints is the mistake from the section above.
- Rust: orange-brown, water absorbs, usually near irrigation heads, metal furniture, or lawn fertilizer. Use a rust remover made for pavers, not muriatic acid. Muriatic can etch the color and leave a bright spot that’s permanent.
- Algae: green or black, slick when wet, water slides off. Pressure wash at low pressure (never above 1,500 PSI on pavers – it strips joint sand), then treat with a paver-safe algaecide.
One more test before you commit: find an out-of-the-way corner or a paver under a step riser and test the cleaner there first. Florida pavers vary a lot in colorfastness, and a brand-new Belgard installation may react differently than a fifteen-year-old driveway. That’s not a sales pitch. That’s what a paver rep will tell you happens when the wrong cleaner hits a colored concrete surface.
Why Pavers Shift During Hurricane Season
Shifting is the signature failure of Miami Gardens driveways between June and November. Three things drive it: saturated base, missing edge restraint, and joint sand loss. When the ground can’t absorb any more water, the base soil expands, tilts pavers up at the edges, and pushes them sideways. If your pavers were installed without proper edge restraint (a metal or concrete lip at the perimeter), the outside course walks every storm season. We’ve seen whole driveways where pavers migrated an inch off the edge after two hurricanes, on top of a base that had lost compaction.
What to check before storm season:
- Look at the edges. If pavers have moved beyond the edge restraint or the restraint is buried in dirt, the driveway is moving. That needs a professional to reset the perimeter.
- Check the joints. If joint sand is low (you can put a finger in a joint more than a half-inch), refill with polymeric sand before the first tropical system.
- Confirm drainage pitch. Driveway should slope away from the garage at a minimum of about 1/8-inch per foot. If the pitch is flat or reverses, water sits and the base fails.
- Watch the soil after a storm. If your yard next to the driveway is soft spongy ground for days after rain, the base is probably absorbing water from the side, not just the top.
On a proper installation, pavers can handle Miami Gardens rain. Pavers installed on nothing but a little sand and no edge restraint cannot. If you’re comparing fixing what you have against starting fresh, our overview of Driveway & Pavers in Miami Gardens covers what a correct base and edge look like on this soil.
What a Legitimate Paver Repair Quote Includes
Here’s the difference between a repair and a patch job. A repair fixes the cause. A patch job hides the symptom.
- Excavation scope. Does the quote say how much of the base will be removed and rebuilt? A real quote specifies depth. “Reset pavers” alone is not a scope.
- Base materials. What’s the base made of, and at what depth? In Miami Gardens the typical correct spec is 4-6 inches of compacted crushed limestone or concrete sand, but the quote should name the material.
- Edge restraint. Is it in the quote, or assumed? If the perimeter is moving, the repair needs restraint, not just re-set pavers.
- Joint sand. Polymeric or regular? Polymeric costs more and lasts longer in our climate. The quote should say which one and what area is covered.
- Drainage fix. If the cause was a downspout, a gutter issue, or irrigation, is the quote addressing it? If not, the repair won’t last.
- Written change order. Any scope change that touches the price arrives in writing before the work happens, not on an invoice after.
“Slap some sand in it and go” runs $200-$400 and buys you a season. A proper repair with excavation and re-base typically runs $900-$2,500 depending on the area. What looks like a better deal in the short term usually ends up costing more because you’re paying for the same repair twice. If you’re pricing a bigger scope that touches the driveway, fence line, or yard, the same standard applies to a Fence Installation in Miami Gardens or an Home Additions & ADU in Miami Gardens – scope in writing, allowances in writing, change orders in writing.
Common Mistakes to Avoid
- Pressure washing at full blast. Standard pressure washers strip the joint sand out of a paver driveway in one pass. If you wash pavers, keep the nozzle moving and the pressure under 1,500 PSI – no swirling, or you’ll leave visible marks.
- Adding sand on top without fixing the cause. Sand is the cover-up most contractors use because it’s cheap. It holds for a season or two. Then the water finds the void again.
- Using vinegar to kill joint weeds. It kills the top growth and chemically weakens the joint sand. Use polymeric re-sanding, not vinegar.
- Applying muriatic acid to rust stains. It etches colored pavers permanently. A rust remover made for pavers is the right product, and the difference in cost is a fraction of replacing a paver run.
- Skipping the edge restraint check. In hurricane season, perimeter movement is the earliest sign the base is compromised. If the edges look fine but the middle is shifting, it’s the base. If the edges are walking, the whole perimeter needs attention.
- Ignoring a downspout that dumps onto the driveway. The most common cause of recurring paver failure we see in Miami Gardens. Gutter downspouts should empty away from the drive, not onto it. A $40 splash block often beats a $2,000 repair.
- Patching one spot when the whole base is marginal. If three or four areas are sinking on the same driveway, the base is the problem, not the individual pavers. The reset-you-can-do-yourself fix applies to isolated spots, not a pattern.
See the difference
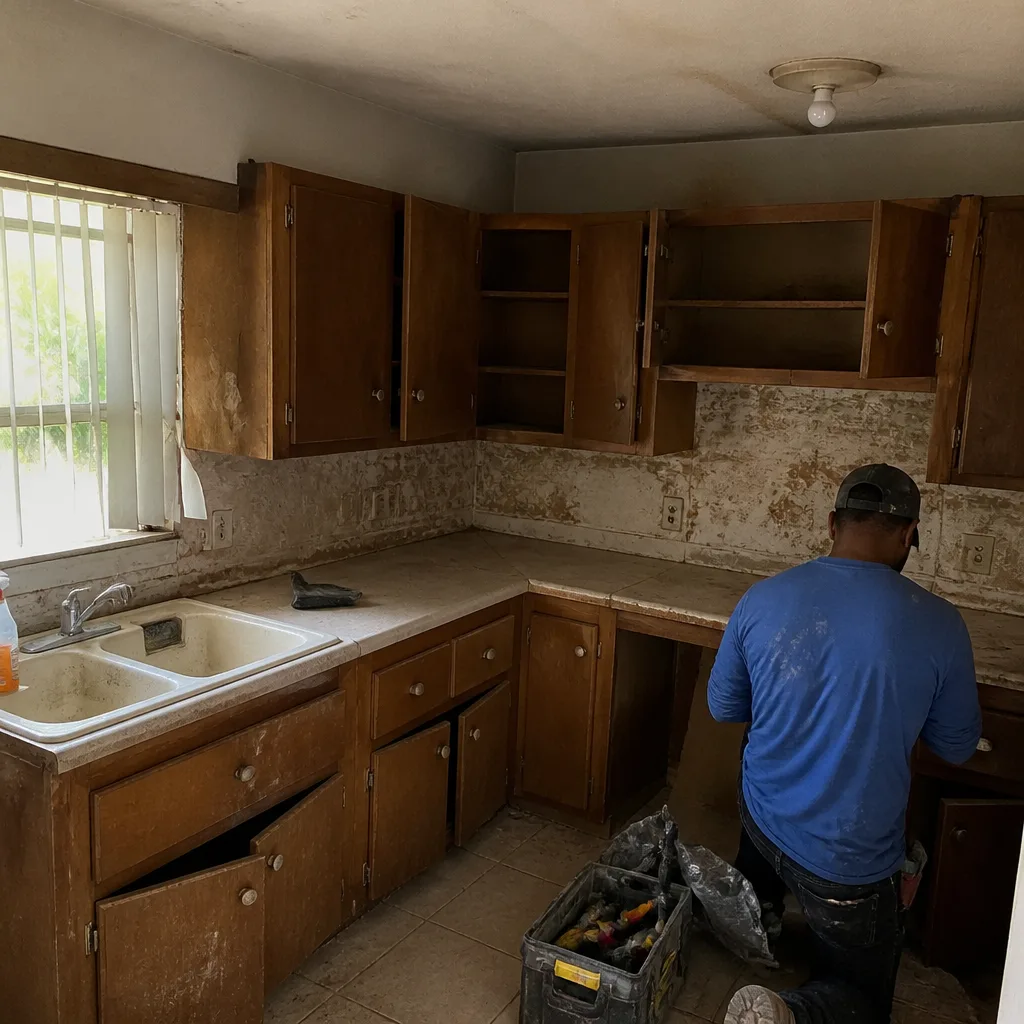 Before
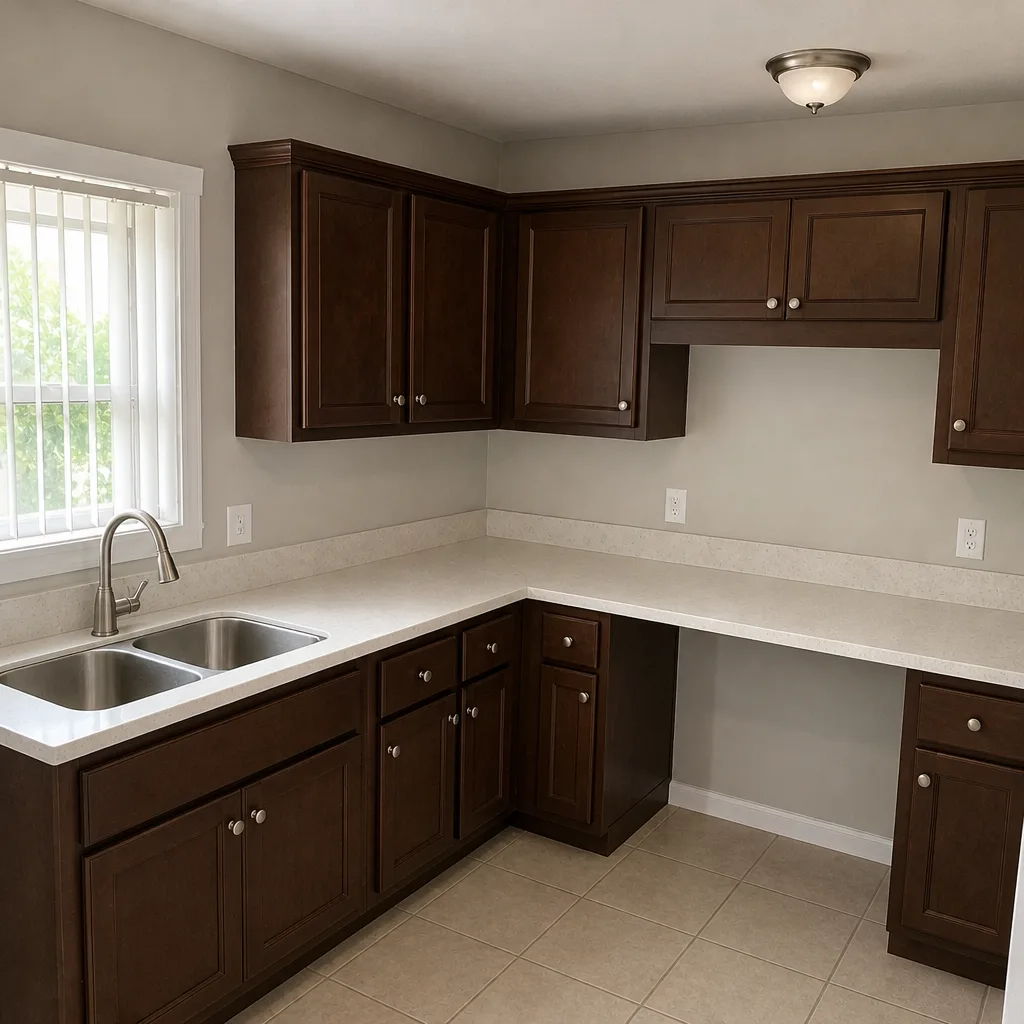 After
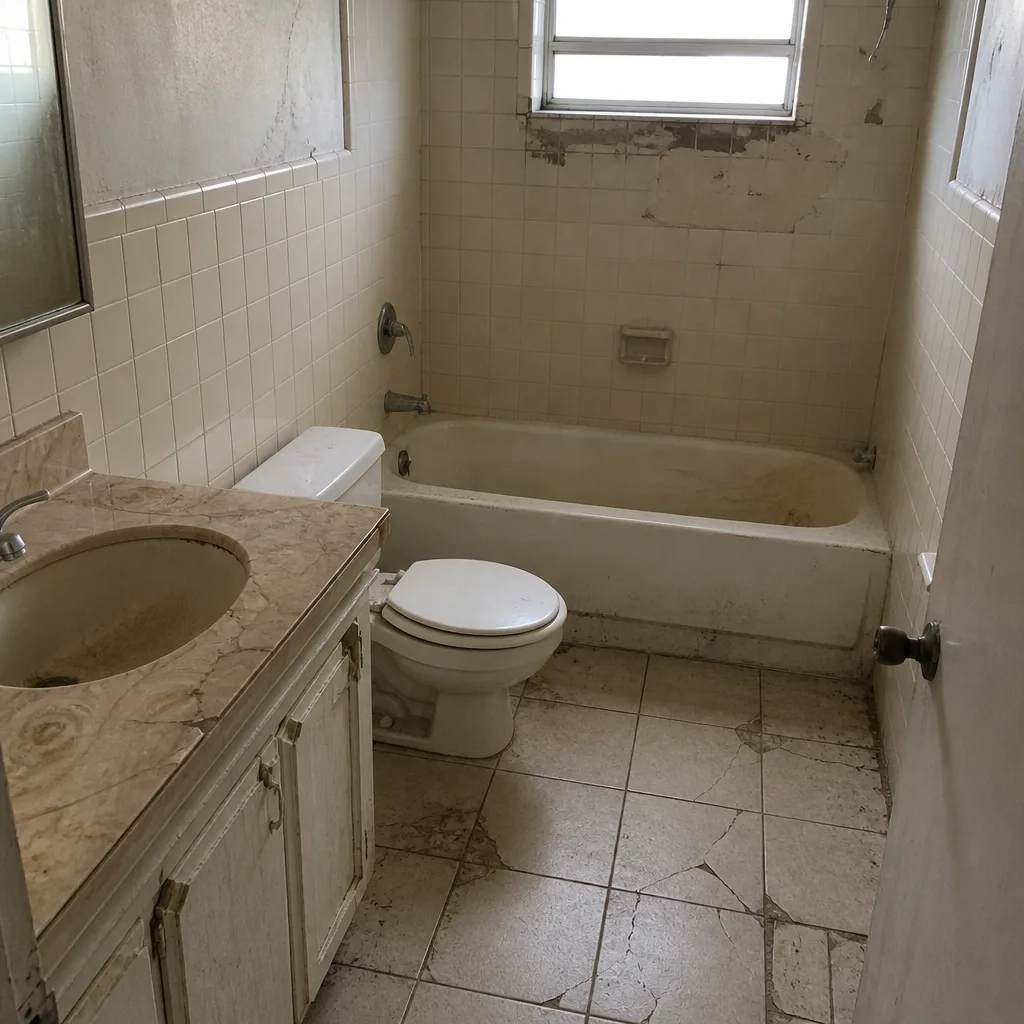 Before
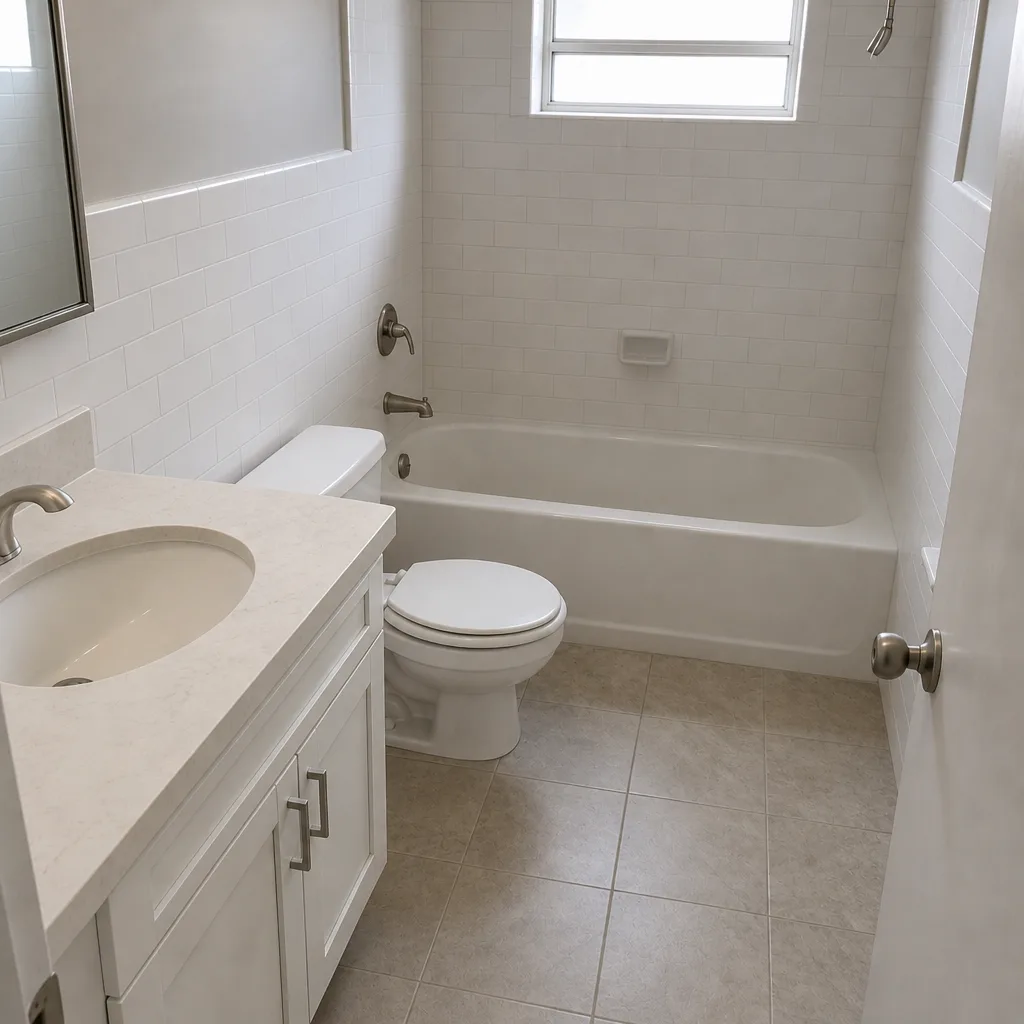 After
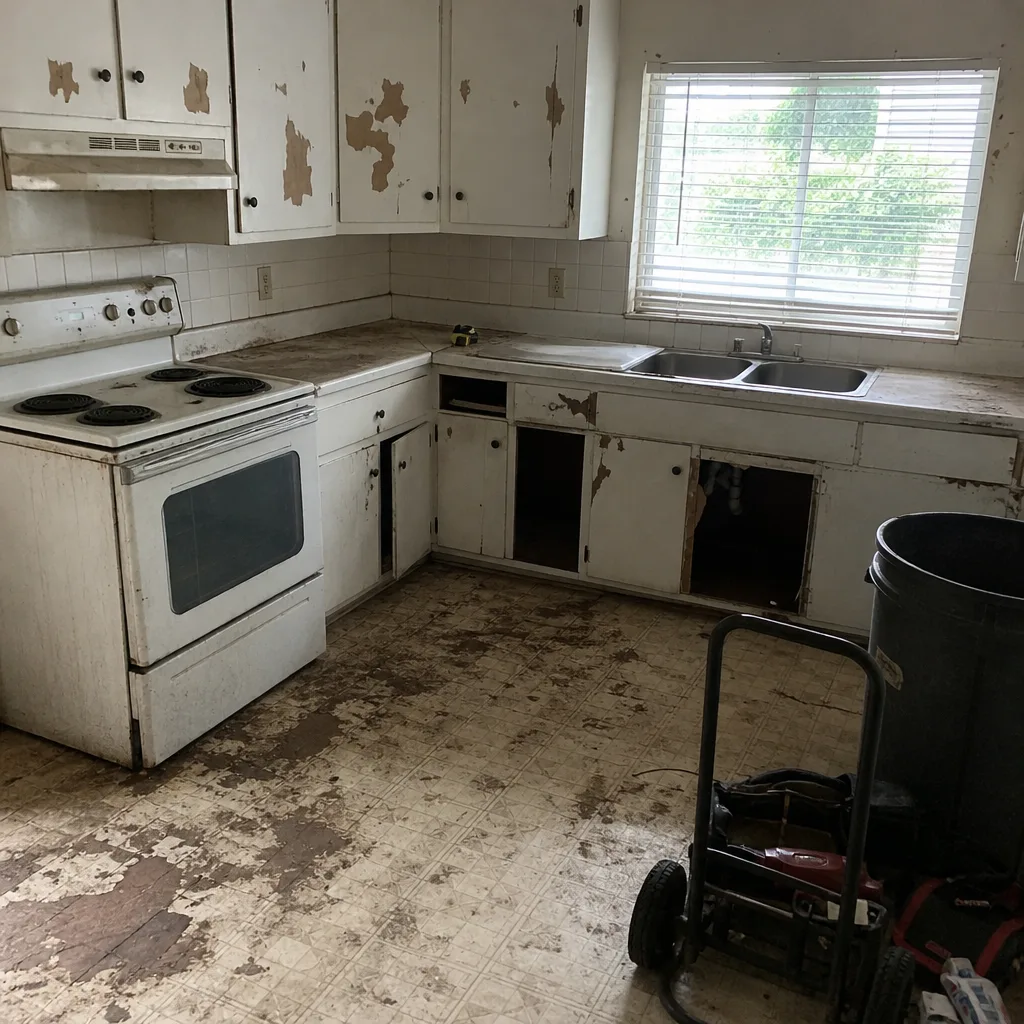 Before
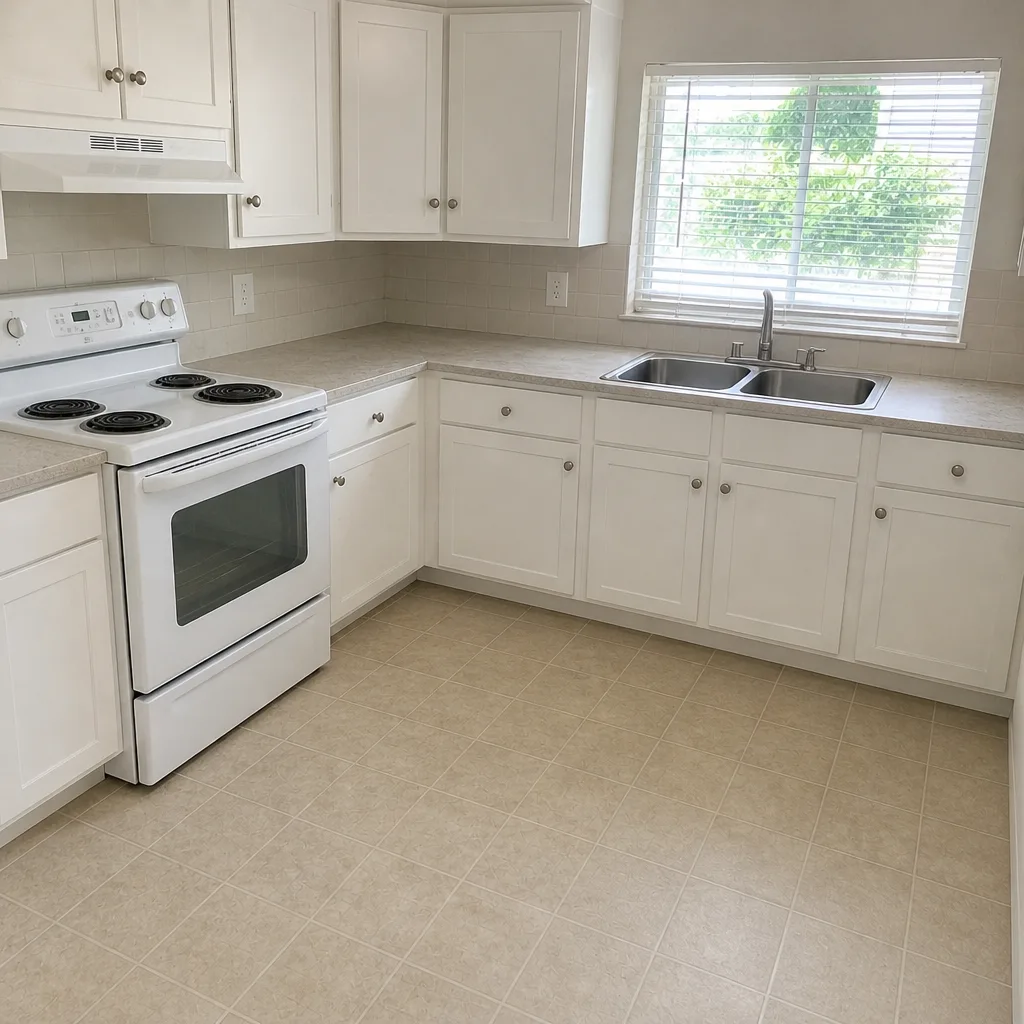 After
When to Call a Professional
Some repairs are a homeowner’s weekend. Others are a recipe for replacing the same section twice. Call a professional when the dip is over half an inch across a straight-edge, when more than three or four areas of the driveway are sinking, when pavers rock underfoot, or when the perimeter has moved past its edge restraint. Call if you’ve re-sanded and the weeds are back within a month – that’s a drainage problem you can’t fix with sand. And call if you’re on your third patch job in three years, because the pattern is the answer. Barrett & Sons Construction Miami Gardens offers free estimates in Miami Gardens. Call (844) 797-8316. If the scope needs a permit – a new driveway, a widened apron, or a drainage change – the permit gets pulled and the inspection gets signed. The permit inspector works for you, not for us, and that’s a good thing.
Frequently Asked Questions
Paver repair in Miami Gardens typically runs $200-$400 for a spot reset and re-sand, and $900-$2,500 for a proper repair that excavates and rebuilds the base under a larger area. The cost difference is almost always excavation depth and edge restraint, not the pavers themselves. Call (844) 797-8316 for an exact quote – estimates are free.
Yes, if the base under that spot is still intact. A single locally sunken paver can be pulled, the bedding layer re-leveled, and the paver reset. If the paver is cracked or chipped, it can usually be swapped for a matching unit, especially on a stock color from a brand like Belgard or Techo-Bloc. If three or more spots are sinking, the fix is the base, not the pavers.
Because you’re treating the weeds, not the joint. Eroded joint sand lets seeds land in an open gap, and herbicides kill the plant but leave the gap open for the next seed. The fix is re-sanding with polymeric sand after pulling the existing weeds, plus correcting whatever is eroding the joints. If the weeds cluster in one area, look for the drainage source first.
Usually not. Efflorescence is mineral salts drawn to the surface as moisture evaporates and it’s cosmetic for most pavers in Miami Gardens. The exception is when it returns in the same spot every rain and is accompanied by damp patches or soft sand under the pavers. That pattern means water is coming up from the base and needs a drainage fix, not a cleaner.
Full replacement makes sense when the base is compromised across more than half the driveway, when pavers have moved past the edge restraint on multiple sides, or when the paver itself is failing (crumbling, spalling, or at the end of its color life). A repair is the right call when the base is intact and the issue is localized. Even on a replacement, the quote should include scope, base material, edge restraint, and joint sand in writing.
Not with us. Every scope, allowance, and price change arrives as a written change order before the work happens. That’s the standard on every job we run, and it’s why the contract is signed before we pull the pavers. Call (844) 797-8316 for a free estimate and a written scope.
The Bottom Line
Every paver problem tells you something. Efflorescence that fades after dry weather is cosmetic. Efflorescence that returns in the same wet patch isn’t. A single sunken paver can be reset by hand. Four sunken pavers are a base failure, and no amount of joint sand will fix it. Weeds are joint sand loss, not a weed problem. Stains need to be identified before liquid touches them. And in Miami Gardens, hurricane season exposes every driveway that was installed without edge restraint. Diagnose before you fix. A garden hose, a four-foot level, and an hour of walking the driveway will tell you whether you’re looking at a weekend afternoon or a contractor call. For anything in the second bucket, Barrett & Sons Construction Miami Gardens home is the place to start.
We built this guide the way we run a job: plain-spoken, specific, and free of the guesswork that usually comes with a paver problem. If you’re in Miami Gardens and the diagnosis points to the base, the edge, or the drainage, call Barrett & Sons Construction Miami Gardens at (844) 797-8316 for a free estimate. Every eligible job comes with permits pulled and inspections signed, and every completed job is backed by our written 90-Day Done Right Promise. If it’s not done right, Tom comes back and makes it right. One call.
Written by the team at Barrett & Sons Construction Miami Gardens.