
Last updated November 17, 2026
 Home additions & ADU
 Kitchen remodeling
 Bathroom remodeling
 Roofing
 Windows & doors
 Driveway & pavers
 Fence
Free written scope consultation - allowances, timeline, and change-order rules on paper before a single trade is scheduled
Home Additions & ADU Maintenance Schedule: What to Do and When
The most expensive addition repair calls we get aren’t from neglect. They’re from homeowners who maintained everything they could see and missed the three inches of flashing behind the gutter that was wicking water into the wall for two years. An addition or ADU doesn’t age like the original house. It has more seams – more places where old and new materials meet – and in South Florida those seams take a beating from humidity, UV, and storm season every single year. This guide lays out a maintenance schedule built around those connection points and Miami Gardens’ actual weather calendar, so you’re inspecting the right things at the right time instead of running a generic checklist that misses the parts that matter.
Quick Answer
Inspect and reseal your addition’s connection points – the roof tie-in, the foundation joint, wall penetrations, and cladding transitions – twice a year: once in May before hurricane season and once in November after it ends. Schedule any sealant or stucco repairs for the dry February window, when they cure properly. ADU systems with their own water heater, meter, or mini-split need their own separate maintenance cycle. Document every inspection in a simple log in case a warranty or insurance question comes up later.
Table of Contents
- Why an Addition Ages Differently Than the Original House
- The Miami Gardens Maintenance Calendar: Three Windows That Matter
- The Roof Tie-In: Your Highest-Risk Seam
- The Foundation Joint Between Old Slab and New
- Exterior Wall Penetrations: Electrical, HVAC, and Plumbing
- Exterior Cladding Transitions: Where Two Materials Meet
- ADU-Specific Systems That Need Their Own Schedule
- Building a Maintenance Log That Holds Up Later
- Common Mistakes to Avoid
- When to Call a Professional
- Frequently Asked Questions
- The Bottom Line
Why an Addition Ages Differently Than the Original House
A house built in one pass has one continuous envelope. An addition has a border. The framing on one side of that border has been settling for forty years. The framing on the other side is newer and still moving. The stucco, the roof plane, the foundation slab, and the wall finish all change materials at that border, and every one of those changes is a potential path for water.
That’s the whole reason a generic home maintenance checklist underserves you. It tells you to clean gutters and change filters. It doesn’t tell you to get on a ladder with a flashlight and look at the flashing where your addition roof dies into the original wall, because most checklists weren’t written by anyone who’s had to open up a wall and find wet OSB behind sound-looking paint.
In our experience across home additions and ADUs in Miami Gardens, the water damage we find almost always starts at a seam – not in the middle of a wall, not in the middle of a roof. It starts at the joint, the transition, the penetration. So that’s where this schedule puts its attention.
South Florida makes it worse than it would be in a drier climate. Between June and October, humidity sits high, afternoon thunderstorms hammer vertical surfaces, and the sun bakes the west and south elevations hard enough to cook sealant joints dry. Then hurricane season brings wind-driven rain that finds any gap wider than a hairline. An addition in Miami Gardens lives through that cycle every year, and its seams are the first things to show the wear.
The Miami Gardens Maintenance Calendar: Three Windows That Matter
Forget the national spring-and-fall advice. In Miami Gardens, three windows on the calendar actually matter, and each one is good for different work.
May: Pre-Hurricane Season Inspection
Hurricane season officially starts June 1. May is your last comfortable window to find problems and fix them before wind-driven rain gets a chance to test them. This inspection is about finding defects and sealing them, not about cosmetic repairs.
- Walk the roof tie-in with binoculars or from a ladder and look for lifted flashing, cracked sealant, or stains on the wall below it.
- Check every caulk joint at wall penetrations – pipe boots, electrical conduit, HVAC line sets – by pressing a fingernail into it. If it’s hard or cracked, it needs replacing.
- Look at the ground around the foundation joint for a widening crack in the stucco or a gap at the base where water could pool against the new slab.
- Trim any tree limbs within 10 feet of the addition roof. A branch that scratches shingles all summer opens a path for water.
- Test that any exterior outlet or light on the addition has a tight, gasketed cover plate.
- Confirm your ADU’s mini-split condensate line drains freely and isn’t clogged with algae.
November: Post-Hurricane Season Inspection
Once storm season winds down, you’re looking for what it left behind. Wind can lift the edges of flashing without tearing them off. Rain can drive into a joint that looked fine in May. This inspection is about damage assessment, and it’s the one where a small catch saves the most money.
Look specifically for new water stains on the interior wall or ceiling adjacent to the connection points. Check that shingles at the tie-in haven’t lifted. Look at the cladding transition for new cracks in the stucco or paint blisters, which often signal moisture trapped underneath.
February: The Dry-Season Repair Window
Here’s the part most schedules get wrong. February in Miami Gardens is typically the driest, mildest stretch of the year. That matters because sealants, stucco patches, and paint all cure best when humidity is lower and the surface stays dry. If you have a joint that needs resealing or a stucco crack that needs patching, February is when that work will actually hold. Reseal in July and you’re gambling with a thunderstorm rolling through before the product has set.
An addition with a matching concrete or paver walkway also benefits from a February inspection of the driveway and pavers where they meet the addition slab – that joint moves with the seasons and is a common place for paver base to wash out.
The Roof Tie-In: Your Highest-Risk Seam
The roof tie-in is where the addition roof meets the original house. It’s the highest-risk seam on the whole structure, and it’s where the opening hook for this guide actually happened – three inches of flashing behind a gutter that was quietly wicking water into a wall for two years.
What makes it so vulnerable is that it’s a transition between two roof planes, or between a roof and a wall, and the flashing that bridges that transition is often partly hidden. When it fails, water doesn’t spray into the room. It wicks slowly along the top plate of a wall, in and out of the wall cavity, for months. By the time you see a stain inside, you’ve usually got rot and possibly mold on the non-finished side.
What a Healthy Roof Tie-In Looks Like
- Flashing sits flat against the wall or step-flashes cleanly over the shingles, with no visible gap at the top edge.
- The sealant along the flashing edge is pliable, not hard and cracked. Press it – it should give slightly.
- Shingles at the roof edge are intact and sit tight, not lifted or curled.
- No rust streaks, dark staining, or green algae trails running below the tie-in.
- Gutter hangers are tight and the gutter runs straight, because a sagging gutter pulls away from the fascia and lets water behind it.
What Needs Attention
A hairline gap between flashing and wall. Sealant that’s hard, cracked, or peeling away at the edges. Pressed-down or lifted shingles where the roof plane meets. A gutter pulled half an inch off the fascia. Any of these warrant a closer look, and the sooner the better – a $200 flashing repair in May is a whole lot cheaper than opening up a wall in October.
Gutter maintenance here in Miami Gardens matters more than in drier climates because the volume of rain in a single afternoon storm can overwhelm a partially clogged run. An addition often gets its own short gutter section, and that short run clogs faster than the main roof because there’s less slope and less length to keep things moving. Check it in May and November, and again after any named storm.
The Foundation Joint Between Old Slab and New
When an addition is built, the new slab is poured against the original foundation. There’s an expansion joint there – a small gap that’s supposed to exist – and it’s the second-most common place for water to find its way in.
The joint needs to stay a joint. If it’s filled solid with caulk or mortar, the movement from seasonal settling will crack the fill and open a wider path than the joint would’ve had on its own.
Reading the Expansion Gap
Walk the exterior where the addition meets the original house and look at the base of the wall. A healthy joint shows a consistent gap, roughly 1/4 inch wide, capped with a flexible sealant that’s still soft. If you can fit a nail file into a gap that’s wider than the day it was built, or if the sealant has pulled away on one side, that joint is letting water toward the slab edge.
Watch for a hairline crack in the stucco that widens after a hurricane season and doesn’t close back up. That’s your sign the joint is moving more than it should, and it’s worth having someone look at the foundation’s drainage rather than just patching the crack.
Inside the addition, look at the base of the wall where it meets the floor. Dark staining, swollen baseboard, or any musty smell after a storm points to water coming up through the joint from a drainage problem on the exterior side. That usually means regrading around the addition is needed, not just more caulk.
The good news: this is one of the easiest things to catch yourself. You don’t need tools. Look at the joint twice a year, and if you see the gap growing or the sealant starting to lift, get it looked at before the rainy season. A failed fence installation next to the addition isn’t a foundation problem, but we’ve seen fence posts driven too close to the slab edge that disturbed the joint. If you’re putting up a new fence in Miami Gardens with a product like Master Halco or Ameristar, tell the installer where the addition slab runs so they don’t drive through it.
Exterior Wall Penetrations: Electrical, HVAC, and Plumbing
Every wire, pipe, and line set that exits the addition’s wall is a hole in the envelope. Each one is a place where water can enter if the sealant around it fails. In an addition, there are typically more penetration points than the original house had, because the addition often gets its own electrical service, its own exterior outlets, and a dedicated HVAC system.
What to Check Twice a Year
- Exterior outlets and switches: The gasketed cover plates dry out and crack. Press on the gasket. If it’s brittle, replace it. A $3 cover plate with a bad gasket can leak for years.
- HVAC line sets: The refrigerant and condensate lines from a mini-split or ducted AC run through the wall in a sleeve. Check the sealant at the sleeve on both the inside and outside. Any daylight visible means it needs sealing.
- Plumbing vent stacks: A pipe boot flashing at the roof is the quiet failure point. Look for cracked rubber boots – they only last about 10-15 years in Florida sun before they dry-rot.
- Electrical conduit: Where the conduit enters the wall, check the weatherproof fitting (often a “weatherhead” or LB fitting) for cracks or gaps at the threads.
- Exterior lighting: Light fixtures mounted on the addition wall often have a gasket behind the base plate. Look behind them from a ladder for any gap or rust streak.
What Normal Looks Like
A healthy sealant bead around a penetration is continuous, adheres to both the pipe and the wall, and still feels slightly rubbery. What needs attention: a bead that’s pulled away from the wall on one side, a bead so thin it’s translucent, or a visible gap where the pipe meets the wall. If you can see a crack at the base of the sealant, that’s where water gets in.
Don’t ignore a small pool of water on the ground below a mini-split line set after a rain. It could be normal condensate, but it could be water wicking down the line and dripping off. Watch whether it stops when the system is off. If it keeps dripping with the unit off, that’s coming from outside, and it’s a sealant problem.
Exterior Cladding Transitions: Where Two Materials Meet
The transition between the addition’s exterior cladding and the original house is another spot where two materials meet and don’t behave the same way. Stucco expands and contracts differently than siding. Vinyl shakes and moves with temperature swings. Hardie-board siding is more dimensionally stable than wood but still moves a bit and shrinks slightly between boards.
The seam where two different materials meet is the highest-stress point on the whole exterior wall. The two materials absorb and release moisture differently, expand and contract at different rates, and bond to primer and paint differently. That’s why the transition joint almost always needs a flexible sealant, not a rigid fill.
How to Read a Sealant Joint
This is the biggest area where homeowners guess instead of knowing. Here’s what to look for.
A healthy joint has a continuous bead that touches both surfaces along its whole length. It should feel rubbery when you press it with a fingernail. It should be free of bubbles, cracks, and dirt-filled cavities. The color should be uniform. It should not be peeling up at the edges.
A joint that needs attention has any of the following: a bead pulled away from one surface so you can see a gap behind it, a bead that’s cracked or has visibly hardened, a bead that’s peeled up at the end, a bead that’s been painted over and is cracked inside the paint, or a joint where you can see exposed framing or backer rod through a gap. Any of these means water can get behind the cladding, and that’s where rot starts.
The other thing to watch for is a stain trail. Rust stains, dark drip lines, or green algae streaks below a transition joint point to water running down the wall on the outside. That’s not always a leak, but it’s a sign the joint isn’t shedding water the way it should. On masonry or stucco walls, a chalky white mineral deposit (efflorescence) is a tell that moisture is moving through the material.
In our experience, the cladding transition on additions in Miami Gardens tends to fail faster on the west and south elevations, because they take the full afternoon sun. If your addition faces either one, check that joint first every inspection.
ADU-Specific Systems That Need Their Own Schedule
An ADU often has its own water heater, its own electric meter, and its own mini-split or packaged HVAC unit. That’s good for privacy and separate metering, but it means those systems have maintenance cycles completely independent of the main house. If you don’t track them separately, they slip.
Water Heater
A tank water heater in an ADU typically needs a flush once a year to clear sediment. If it’s on a shared wall with the main house, check for any sign of leaking at the base of the tank in May before the rainy season. A slow leak that gets into the wall cavity during a heavy storm is an insurance headache.
Electrical Meter and Panel
An ADU subpanel needs a visual inspection twice a year. Look for tripped breakers after storms, signs of moisture inside the panel cover, or any warm-to-the-touch breaker under normal load. Anything that looks off means calling an electrician – do not open the panel yourself. This is genuinely dangerous equipment, and a panel fire is not something you can reverse.
Mini-Split Comfort System
Here’s what normal condensation looks like: the mini-split drains freely from the condensate line, the line set outside is cool but dry to the touch, and the indoor unit blows cold without any dripping inside the room.
What points to a refrigerant problem instead: ice forming on the copper line set, the outdoor unit running constantly without much cooling, or a gurgling sound from the indoor unit. Ice or poor cooling is a refrigerant issue, not condensation, and it needs a licensed tech. Cleaning the condensate drain line with a shop vacuum and flushing with a dilute bleach solution is a good May habit – it prevents the algae clog that’s the most common mini-split service call we hear about in Miami Gardens.
ADU Carbon Monoxide and Smoke Detectors
If the ADU has a gas water heater or any gas appliances, test the CO detector monthly. Replace batteries in the smoke and CO detectors once a year, and put it on the same schedule as your main house. The battery chirp at 2 a.m. isn’t the point – the point is that it works at 2 a.m.
Building a Maintenance Log That Holds Up Later
Documentation matters more than most homeowners realize. If a warranty claim or insurance question ever comes up, “I think we checked that joint last year” is not a defense. “We inspected the roof tie-in on May 14, found cracking in the sealant at the southeast corner, and resealed it on May 22” is.
You don’t need anything fancy. A composition notebook kept in the same place as the ADU’s appliance manuals is enough. Here’s a template that covers what you need.
- Date of inspection and who performed it (you or the name of the pro).
- Weather/season context – post-hurricane season, pre-season, or dry-season.
- Each point inspected – roof tie-in, foundation joint, penetrations, cladding, and any ADU-specific systems.
- What was found – “cracked sealant at southeast corner of tie-in,” “no issues at foundation joint,” “mini-split condensate line cleared.”
- Action taken – what was repaired, by whom, and with what product if known.
- Cost – even if it was $0 for a DIY inspection.
- Follow-up needed – any item that needs a second look at the next inspection window.
Photograph anything you find. A timestamped picture on your phone next to a journal entry is a solid record. If you ever sell the home, having a maintenance log makes the addition’s care verifiable.
Common Mistakes to Avoid
- Caulking in July because that’s when you noticed the crack. The sealant needs a dry cure window to hold. In Miami Gardens, that’s February. If you find a failing joint in July, do a temporary patch and schedule the real repair for the dry season.
- Checking the middle of the walls instead of the seams. Water damage almost always starts at a seam or penetration. Mid-wall cracks matter, but they’re not the priority. Check the connections first.
- Treating the ADU water heater like part of the main house. It has its own cycle, its own age, and its own drain. It needs its own line in the log or it gets skipped for years.
- Assuming the mini-split is fine if it’s cold when you turn it on. Ice on the line set is invisible unless you go outside and look. A unit that cools fine in March can be low on refrigerant by July.
- Skipping the gutter behind the tie-in because it’s hard to reach. That’s exactly where the most expensive damage starts. Shell out for a telescoping ladder or hire someone to look. The three inches behind the gutter are the ones you can’t see from the ground.
- Patching a stucco crack without finding the source. Paint and stucco patch hide the evidence of a leak for about six months, then it comes back with rot underneath. Find the source of the moisture first.
- Not keeping records. A warranty claim in year seven is much easier to win when you can prove the system was inspected and maintained every year.
When to Call a Professional
Some of this schedule you can do yourself. Some of it you should not. The gray zone – where a small catch can save thousands and a missed one can cost them – is what we’re talking about here.
Call a professional if you find any of these: active water staining inside the addition or adjacent wall after a storm, a roof tie-in flashing that’s lifted or shows a gap you can see daylight through, a foundation joint where the sealant has pulled away on one side or the gap has visibly widened, cracked exterior stucco with any softness when you press it, or ice on a mini-split line set. Those are all cases where DIY patching risks hiding a bigger problem or, in the case of anything electrical or gas-related, creating a real safety risk.
If you’re in Miami Gardens and you want a second set of trained eyes on your addition’s connection points, Barrett & Sons Construction offers free estimates – call (844) 797-8316. Our technicians have up to 28 years of experience with South Florida additions, and we’ll tell you plainly whether it’s a February patch and forget it, or something that needs attention now.
Frequently Asked Questions
Twice a year minimum, in May before hurricane season and in November after it ends. Miami Gardens gets nearly all of its rain volume between June and October, so those two checkpoints catch problems before they get a chance to grow during the wet season. If a named storm passes through, do a quick visual inspection after the storm clears.
A bad sealant joint has pulled away from one surface so you can see a gap behind it, has cracked or hardened to the touch, or is peeling up at the end. A healthy joint is pliable, continuous, and adheres to both surfaces along its whole length. If you press it with a fingernail and it dents easily, it’s still good. If it feels like dried paint, it needs replacing.
Yes – normal condensate from a running mini-split drains to the outside through the condensate line, and a steady drip while it’s running is fine. What’s not normal: ice forming on the copper line set, dripping when the unit is off, or water pooling inside the ADU around the indoor unit. Those point to a refrigerant or drain problem that needs a licensed HVAC tech.
Yes. An ADU with its own water heater, electric meter, or mini-split has systems that age on their own timeline. The ADU water heater needs an annual flush and a twice-yearly leak check at the base. The subpanel needs a twice-yearly visual inspection – moisture inside the panel or warm breakers under normal load means an electrician call, and you should not open the panel yourself.
Small exterior joint resealing is a reasonable DIY project if you’re comfortable on a ladder and working with the right sealant for the material. Anything involving the roof tie-in flashing, the electrical penetrations, or a joint wider than 1/2 inch should go to a pro. The risk isn’t just a bad repair – it’s a fall off a ladder or a bigger problem hidden under new caulk. Call (844) 797-8316 for a free estimate if you’re unsure what you’re looking at.
February. The dry-season window in Miami Gardens gives sealants, stucco patches, and paint the best conditions to cure. May is a good second option if you need to get something done before hurricane season, but February is the sweet spot for anything that needs to cure properly. Avoid scheduling sealant work in June through September when afternoon storms can wash fresh product off before it sets.
The Bottom Line
An addition or ADU doesn’t fail from the middle out. It fails at the seams – the roof tie-in, the foundation joint, the wall penetrations, the cladding transition, and the joint where the new slab meets the old. Build your maintenance schedule around those points, not a generic checklist. Inspect in May and November around hurricane season, and do the real repairs in February when South Florida’s dry season lets them cure right. Track your ADU’s separate water heater, meter, and mini-split on their own cycle. And keep a log, because “we checked it last year” isn’t documentation – a date, a finding, and a photo are. Do those things, and your addition will outlast the house it was attached to.
If you want a trained eye on your addition’s connection points, Barrett & Sons Construction Miami Gardens offers free estimates. Call (844) 797-8316 to schedule yours, and we’ll look at the seams first – because that’s where the money is.
Written by the team at Barrett & Sons Construction Miami Gardens.
Styles & brands we work with
- Kitchen remodeling
- Bathroom remodeling
- Home additions & ADU
- Roofing
- Windows & doors
- Driveway & pavers
- Fence
See the difference
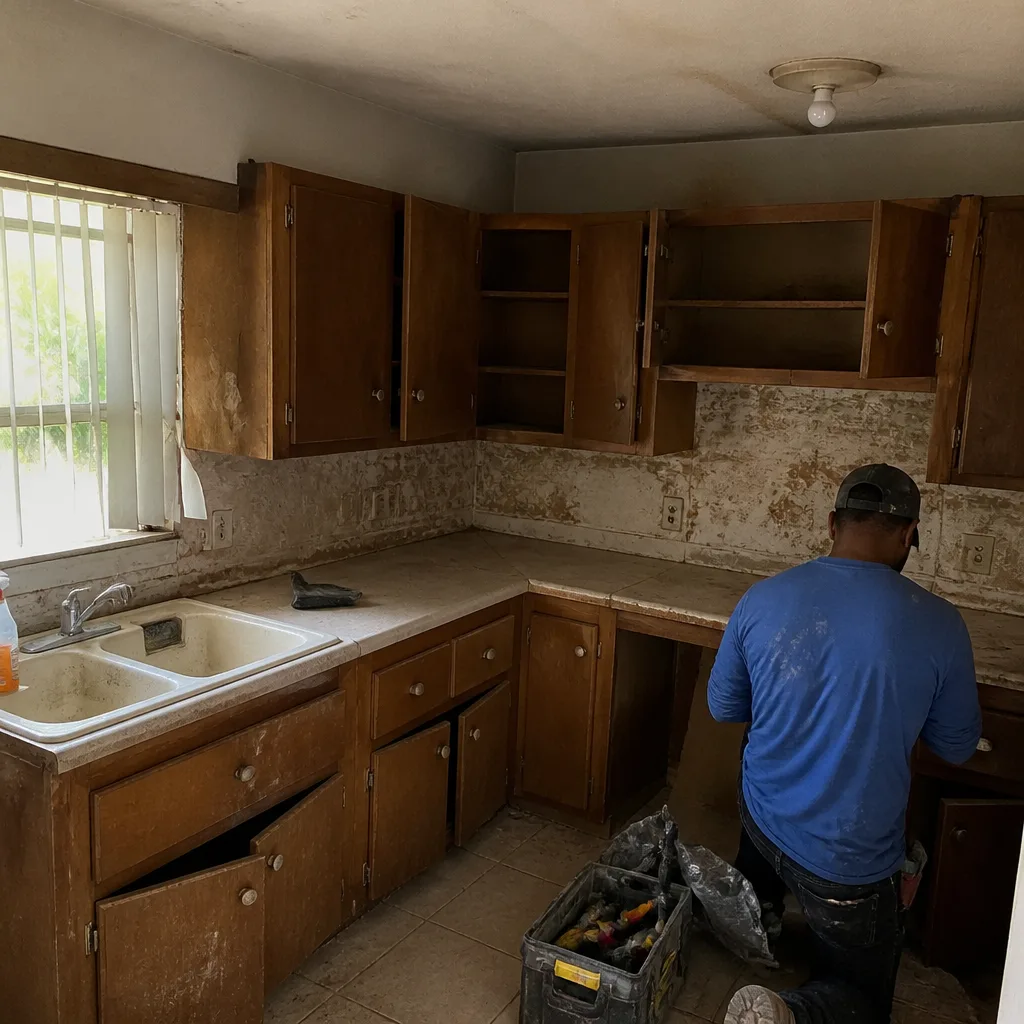 Before
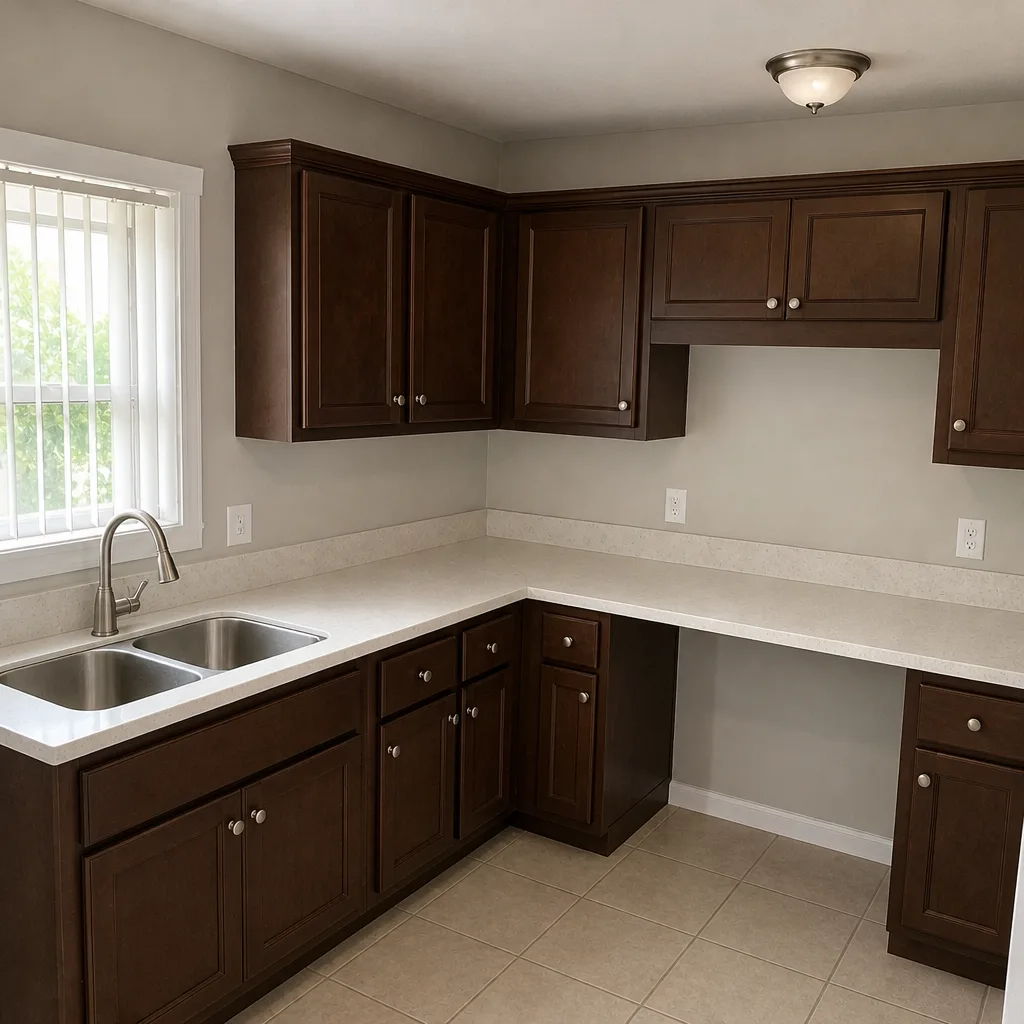 After
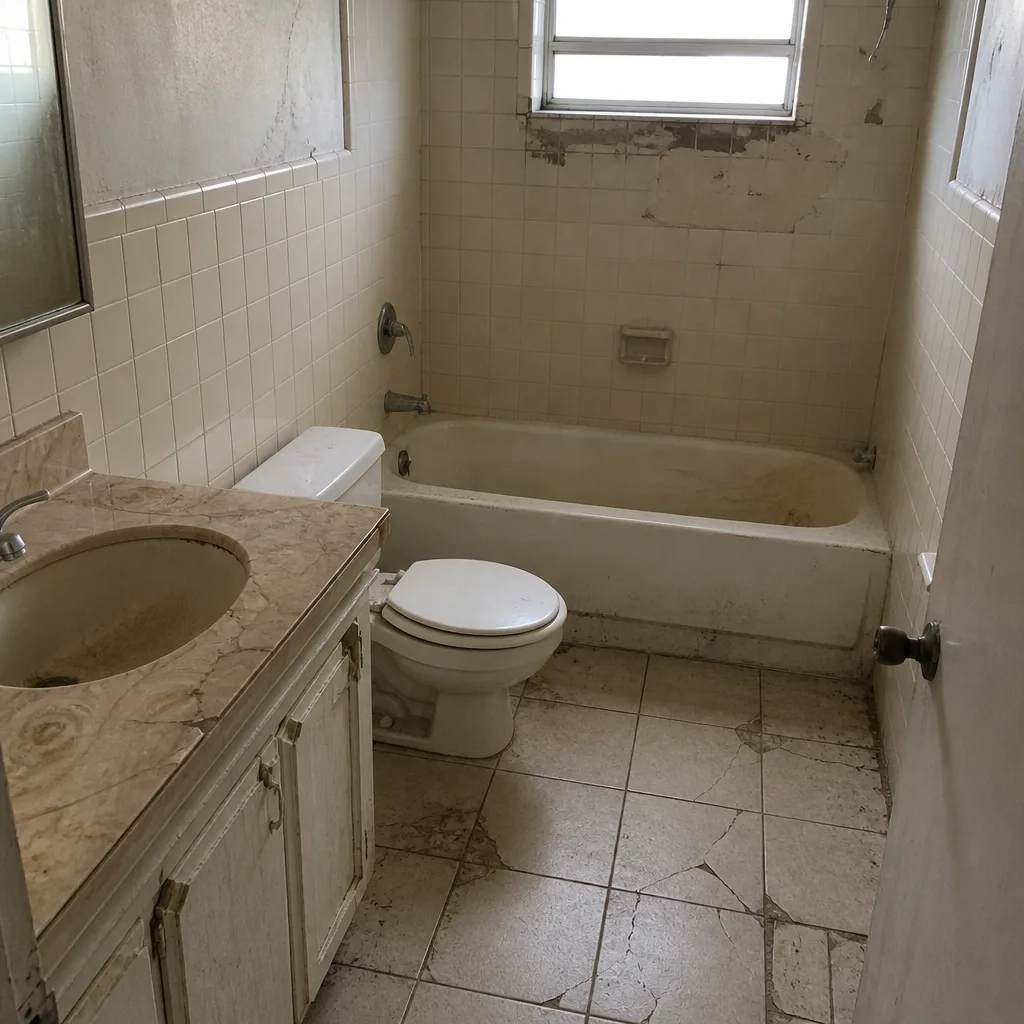 Before
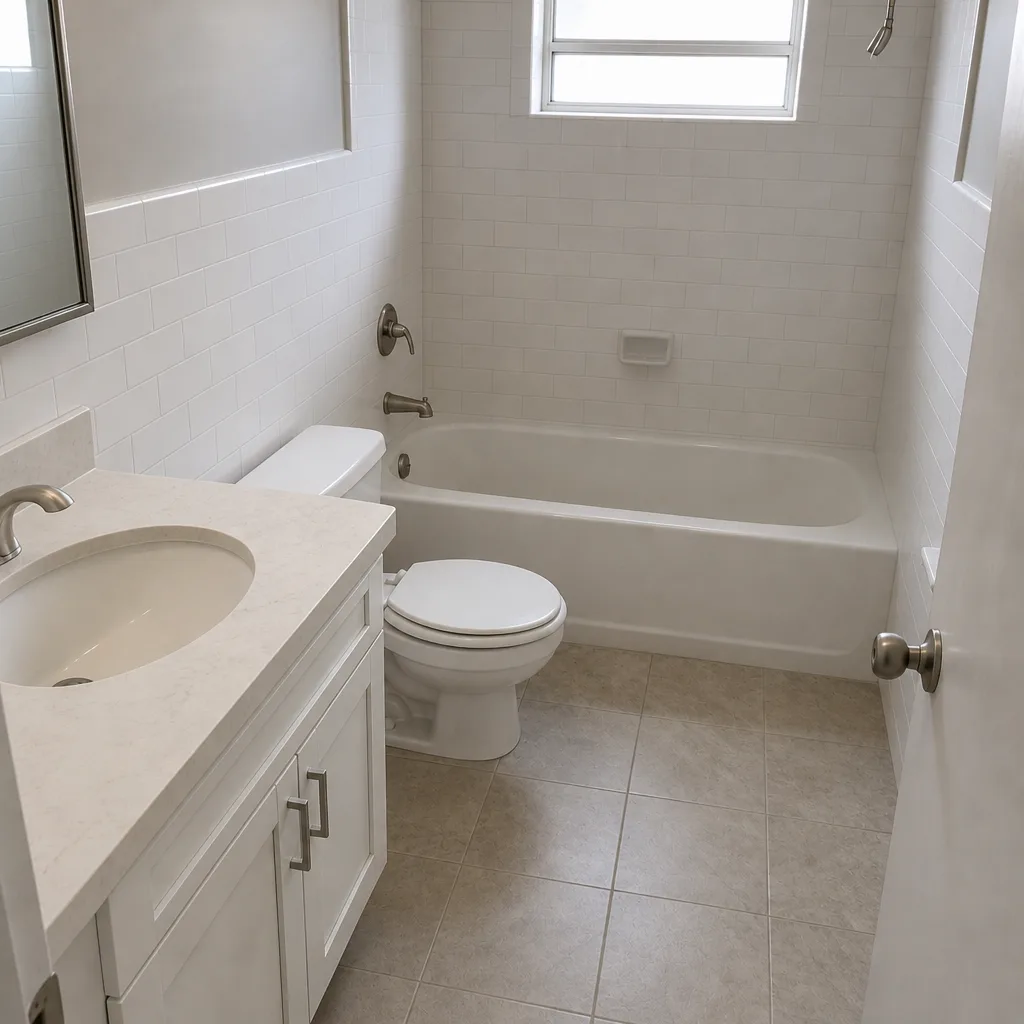 After
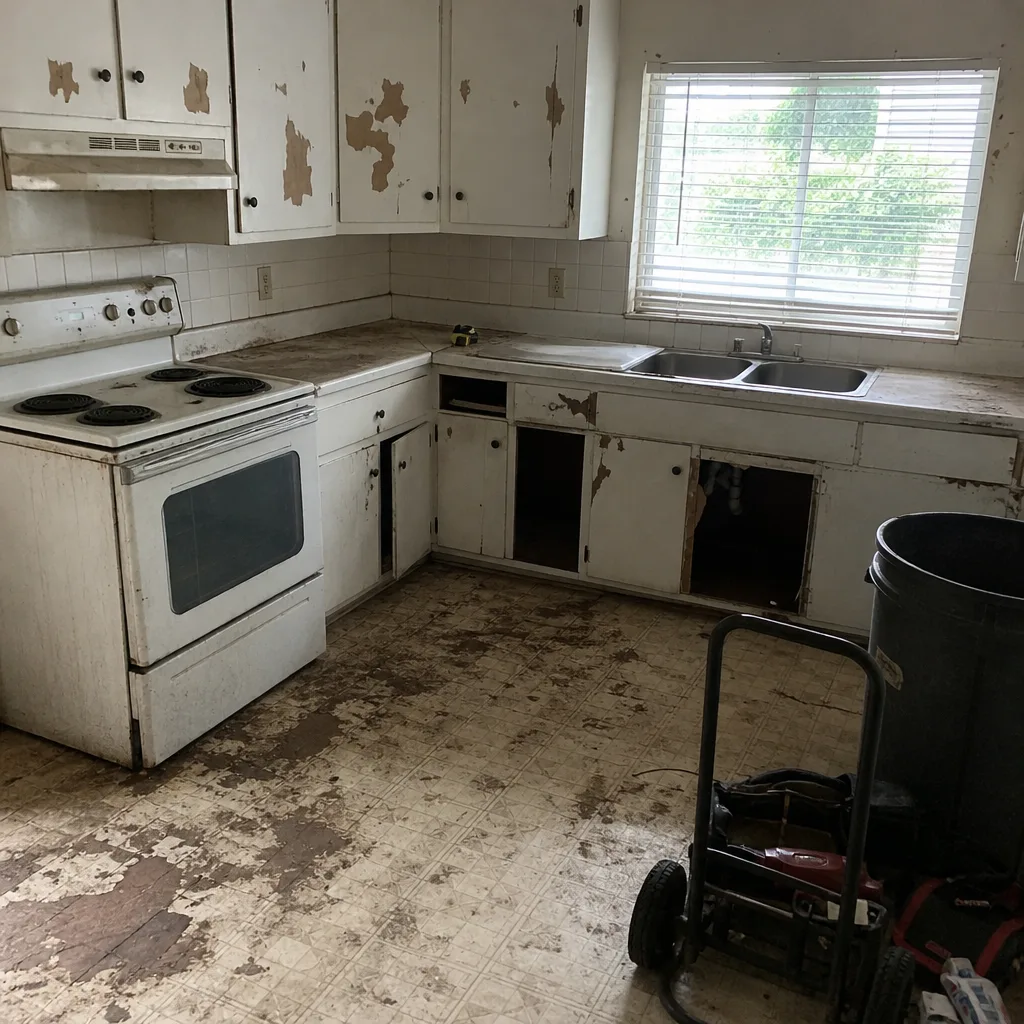 Before
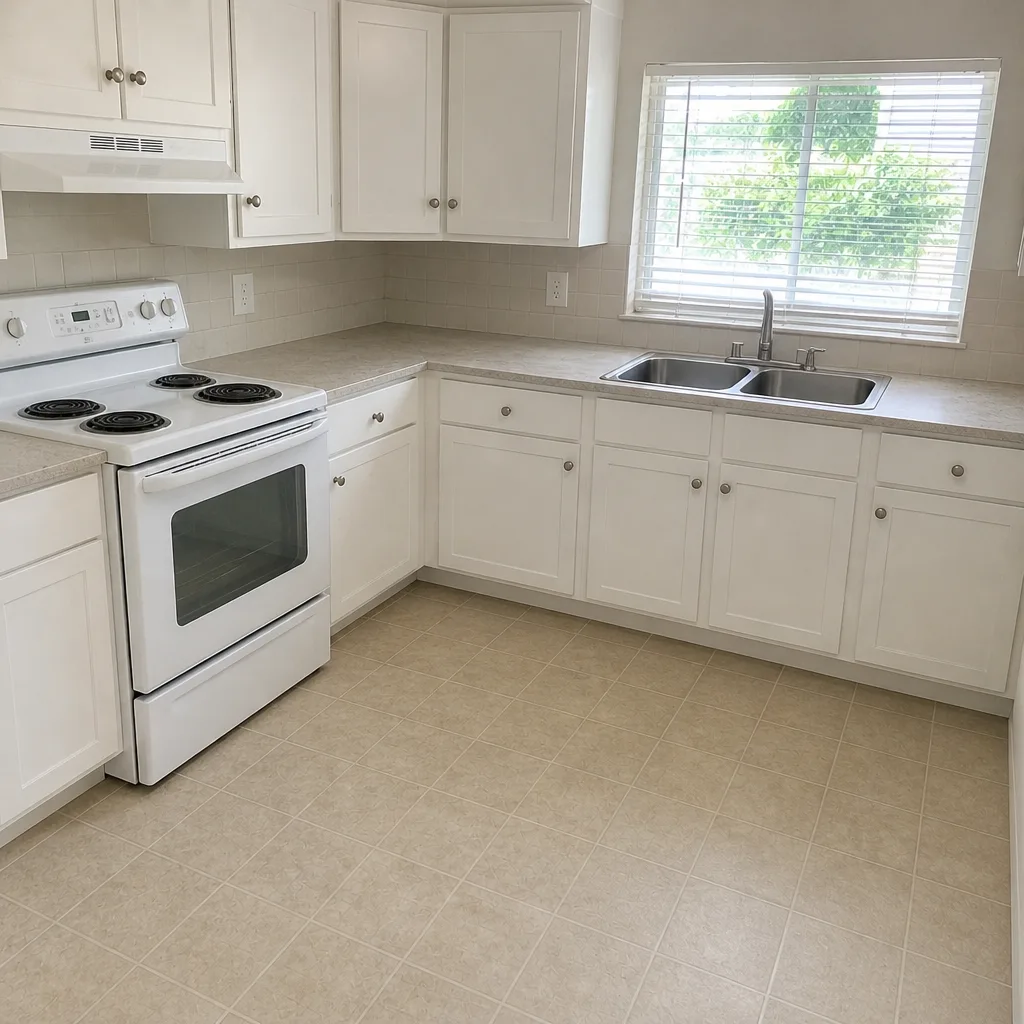 After