
Last updated November 17, 2026
 Bathroom remodeling
 Kitchen remodeling
 Home additions & ADU
 Roofing
 Windows & doors
 Driveway & pavers
 Fence
Free written scope consultation - allowances, timeline, and change-order rules on paper before a single trade is scheduled
Bathroom Remodeling Troubleshooting: Common Problems and How to Fix Them
Grout cracking in a new shower isn’t a grout problem. It’s a substrate problem or a lippage problem that was visible to the tile installer before the job was done, which means someone either didn’t notice or chose not to say anything. That’s the part that stings for homeowners. The failures we get called about six to eighteen months after a bathroom remodel aren’t random, either. In our experience across Miami Gardens, they cluster around four predictable failure points, and every one of them was preventable during the original project. This guide names those four points plainly, gives you tests you can run yourself to describe the problem accurately, and tells you what to ask the next contractor before you’re in this situation again.
Quick Answer
Most post-remodel bathroom problems come from four places: a shower pan that was never flood-tested or was built with the wrong slope, tile set on a floor that flexes or a substrate that was rushed, an exhaust fan that’s undersized or venting into the attic instead of outdoors, and supply valves damaged during installation that show up later as a running toilet or dripping faucet. Each one is fixable. But a leaking shower pan almost always means the tile comes off, and a contractor who says otherwise is selling you a second repair call, not a repair.
Styles & brands we work with
- Kitchen remodeling
- Bathroom remodeling
- Home additions & ADU
- Roofing
- Windows & doors
- Driveway & pavers
- Fence
Table of Contents
- The Four Failure Points Behind Almost Every Post-Remodel Bathroom Problem
- Shower Pan Leaks: Why They Happen and How to Test for One
- Tile and Grout Failure: Substrate Deflection and Setting Bed Problems
- Persistent Moisture and Mold: The Ventilation Problem Nobody Checks
- Running Toilets and Dripping Faucets After Installation
- “It Was Fine and Then It Wasn’t”: South Florida’s Seasonal Humidity Effect
- Troubleshooting Repair vs. Full Redo: When a Patch Won’t Hold
- Warranty Repair vs. Structural Failure: How to Tell the Difference
The Four Failure Points Behind Almost Every Post-Remodel Bathroom Problem
When a homeowner calls us in Miami Gardens about a bathroom that’s misbehaving, the conversation almost always lands in one of four buckets. Same four, over and over. That pattern is useful because it means you can troubleshoot your own situation against a short list instead of guessing.
- Shower pan and waterproofing failures. A liner installed without proper pre-slope, punctured during cement work, or never flood-tested before tile went down. Water finds the path of least resistance and it exits below the tile line, where you can’t see it.
- Tile and grout failure. Cracks, hollow-sounding tiles, lippage you can feel with a bare foot, grout that turns to powder. Root cause is usually a floor joist system that flexes beyond what the tile can tolerate, or a setting bed laid too thin.
- Moisture and mold. A fan rated for the wrong cubic footage, a fan vented into the attic instead of through the roof or wall, or no fan at all where the original had a small window that got tiled over.
- Fixture leaks. Supply valve seats that got nicked during installation, toilet flappers that were recycled from the old unit, or faucet cartridges seated with debris in the line from the recent plumbing work.
Here’s the part worth sitting with. Every one of those four has a visible warning sign during construction. A tile setter who checks the pan slope with a level sees it. A plumber who opens the supply valve before closing the wall sees the damaged seat. The problem isn’t that the work was hard to get right. It’s that nobody stopped to look, or nobody had the standing to say something if they did. That’s why the contractor selection questions later in this guide matter more than any product you pick.
If you’re already past a completed project and this guide describes your bathroom, a full bathroom remodeling redo with a contractor who’ll put scope in writing from the start is the practical path forward. We cover that scope in detail in our Barrett & Sons Construction Miami Gardens home section on remodels.
Shower Pan Leaks: Why They Happen and How to Test for One
A shower pan leak is the single most expensive common failure in a bathroom remodel, and it’s the one homeowners most often miss until the ceiling below the bathroom starts to show a stain. Miami Gardens homes with a first-floor bathroom over a slab tend not to show ceiling damage, which is why pan leaks here often get discovered as a soft spot at the shower threshold or a mildew smell that comes back after every cleaning.
Three things break a shower pan:
- No pre-slope under the liner. The waterproof membrane has to sit on a sloped bed so water drains toward the weep holes in the drain. When the liner is laid flat on the subfloor, water sits in the pan like a shallow pond.
- Liner punctured during mud bed installation. A trowel scrape, a screw through the wrong spot, a corner folded instead of properly seamed. Any of these lets water past the waterproofing.
- Weep holes clogged with cement or thinset. The drain assembly has small openings that let water that gets below the tile escape. Fill them during installation and the pan has nowhere to drain.
The Flood Test You Can Run Yourself
You can confirm whether the pan holds water before you call anyone. This test is safe on any shower, but it won’t tell you the condition of the liner, only whether it’s currently tight.
- Plug the drain with a test plug or a plumber’s balloon available at any hardware store.
- Fill the pan with water to about an inch above the highest point of the sloped floor.
- Mark the water level on the wall tile with a piece of tape or a pencil line.
- Wait 24 hours with no shower use.
- Check the mark. Water level dropped more than a quarter inch means the pan is leaking somewhere below the tile. No drop, and your problem is elsewhere, likely at the drain gasket or the wall-to-floor joint.
What the flood test won’t tell you is whether the leak is at the pan itself or the connection to the wall waterproofing. That requires a pro, and it requires opening the shower. Which brings us to the hard truth about shower pans: if the pan is leaking, the tile comes off. There is no patch that holds long-term. A two-part epoxy applied over the drain flange might buy you a season before you’re back in the same conversation.
Tile and Grout Failure: Substrate Deflection and Setting Bed Problems
Hairline cracks in grout aren’t always a problem. Grout is the wear layer over a solid system, and a small crack that appears in the first six months and then stops moving is often normal settling. The crack that keeps getting wider, or that follows a straight line across multiple tiles, is telling you the floor underneath is moving.
The two root causes we see in Miami Gardens bathrooms:
- Floor deflection. The joist system flexes more than the tile can handle. Tile wants a floor that deflects no more than L/360 for ceramic, and L/720 for natural stone. Older homes, especially in parts of Miami Gardens built with narrower joists and longer spans, often don’t meet that out of the box. A remodeling crew that never checked can install gorgeous tile on a floor that cracks it within a year.
- Setting bed and substrate. Cement backer board screwed to a subfloor is fine, but it has to be installed with the right screw pattern, thinset underneath, and seams taped. When it isn’t, voids under the board let the tile flex and the grout fail. This is also where lippage comes from, one tile edge sitting slightly higher than the one next to it.
The Floor Flatness Check
You don’t need a level for this. A straightedge does the job.
- Lay a four-foot straightedge or level diagonally across the bathroom floor.
- Look for daylight under it. A gap of more than an eighth of an inch over four feet tells you the floor has a hump or a dip.
- Slide the straightedge over different areas of the floor and repeat. A hump in one spot and a dip twenty inches away is a deflection signature.
- Walk the floor slowly in socks. Feel for tiles that give slightly underfoot, or listen for a hollow click when you tap a tile with a coin. Hollow sounds mean the thinset didn’t bond fully and that tile is coming up.
Hollow tiles aren’t a grout problem. They’re a bond problem, and they get worse, not better. If you’re finding them now and you haven’t yet chosen a contractor for your next phase, this is the single best argument for asking any crew how they verify substrate before setting tile. Our Home Additions & ADU in Miami Gardens work runs into the same joist questions when we open a floor, so it’s not a bathroom-only issue.
Persistent Moisture and Mold: The Ventilation Problem Nobody Checks
Mold that keeps coming back on the same grout line or in the same corner of the ceiling is not a cleaning problem. It’s an airflow problem. The fan that was installed during the remodel either moves too little air, runs too short a time, or dumps its exhaust somewhere other than outside the house. All three are design failures, and all three are things a homeowner can check.
Here’s the sizing rule we use. A bath exhaust fan should move at least one cubic foot per minute (CFM) of air for every square foot of bathroom floor. A 40 square foot bathroom needs a 40 CFM fan at minimum, and for any bathroom over 100 square feet, we step up rather than down. Most big-box fans sold as “bathroom” fans are 50 or 70 CFM, which is right for a small bath and nowhere near enough for a primary bath with a soaking tub or a tile shower that runs long.
The second failure is where the duct goes. All too common: the duct runs into the attic and terminates there, or worse, into a soffit. Venting warm moist air into an attic in South Florida’s humidity loads the space with moisture that then feeds mold on the roof deck. This happens far more than it should, and it’s invisible from inside the bathroom.
The Tissue Test and the Attic Check
- Turn the fan on and let it run for a minute.
- Hold a single square of toilet paper against the fan’s grille.
- If the paper sticks and stays, the fan is pulling air. If it drops, the fan is moving nothing, and the blade, motor, or duct is the culprit.
- Look up. Find the duct in the attic and trace it to daylight. If it disappears into insulation or ends at a soffit vent, it’s venting into the house, and it needs to be corrected.
Short fan run times are the third piece. A fan on a ten-minute timer doesn’t clear a twenty-minute shower. Humidity-sensing switches that stay on until the room dries exist for a reason, and we specify them on new bathrooms we build. Miami Gardens summers make this non-negotiable, since the outdoor humidity already fights you every time you open the door.
Running Toilets and Dripping Faucets After Installation
A toilet running two weeks after install is almost never a bad toilet. It’s a valve seat damaged during installation, a flapper that was reused from the old unit, or a fill valve debris issue from the new plumbing lines. Faucet drips follow the same pattern: cartridge seats get nicked or debris from new solder lines lodges in the seat during the first weeks of use.
What to test before you call anyone:
- The dye test for a running toilet. Put a few drops of food coloring in the tank, wait 20 minutes without flushing, then look in the bowl. Color in the bowl means water is passing the flapper. That’s a flapper or seat issue, not a fill valve issue.
- The supply line check. Put a dry paper towel under the supply line connection at the wall and under the tank bolts, wait an hour, and check for wetness. Hidden leaks at the supply are common in new installs.
- The faucet drip test. Drip right at the spout is a cartridge or seat. Drip underneath at the base is an O-ring. Both require shutting off the supply before you touch anything, and both are quick fixes if caught early.
These are usually warranty items. If the remodel was recent, the contractor should be handling the call. If the original contractor has moved on (or won’t answer), the repair is still small and same-day capable, but it’s worth having a pro look rather than reseating a valve cartridge yourself if the valve is a quarter-turn style that seals at the wall.
“It Was Fine and Then It Wasn’t”: South Florida’s Seasonal Humidity Effect
There’s a common phone call we get in Miami Gardens starting in April or May: the bathroom was finished last fall and looked perfect all winter, then sometime in June the caulk line at the shower base started peeling, or the grout on the exterior wall started to hairline crack, or the paint above the shower started to blister. Nothing changed in how the homeowner used the bathroom. What changed is the season.
South Florida’s outdoor relative humidity swings from around 65% in a dry January to 80% and higher through the summer months. Your house, and your bathroom in particular, breathes some of that in. Materials move with humidity. Wood framing swells a fraction. Cement products take on moisture. Caulk stretches and shrinks. When a project finishes in the cooler, drier months, small material gaps that were borderline at installation can open up more noticeably once the wet season starts.
So the question homeowners actually need answered: is this a remodel failure or maintenance?
- Maintenance-level: A single hairline caulk crack at the shower perimeter, or a grout line in a small area that has cracked twice in the same spot. These are seasonal expansion issues and resealing every 12 to 24 months is standard for Florida bathrooms.
- Remodel failure: Caulk peeling along an entire wall, grout cracking in a repeating pattern that crosses tile boundaries, water stains on the ceiling below, or mold that reappears on the same surface within days of cleaning. These track to substrate movement, a pan leak, or a venting defect, not to humidity alone.
Re-caulking a shower perimeter every year or two is normal here. Discovering soft drywall behind the shower valve after six months is not. The distinction matters because one is a Saturday morning, and the other is a written call to the contractor. If you’re planning a project for the fall and want it to land after the wet season, our Driveway & Pavers in Miami Gardens team runs into the same scheduling question with concrete pours, and the answer is the same: season matters.
Troubleshooting Repair vs. Full Redo: When a Patch Won’t Hold
We’re going to be blunt about this because the alternative is expensive for you. If the shower pan is leaking, the tile is coming off. There is no patch that holds long-term. A contractor who tells you otherwise, who wants to seal it with a topical coating or reroute the drain or slap another layer of waterproofing on top of what’s there, is selling you a second repair call. You will pay for the same conversation twice.
The reason a patch doesn’t work is structural. The pan is a system: preslope, liner, weep holes, drain connection, tile, grout, sealant. A leak means one component failed, but you can’t inspect which one without opening the system. Even if you reseal the failing tile joint and the water temporarily stops showing up, the subfloor underneath has already been wet, and wet cement board and substrates grow mold and lose structural integrity. The damage doesn’t stay static.
What that means in decision terms:
- Repair-level: a running toilet, a dripping faucet, a fan replacement, a single tile that has come loose at an edge, a resealed shower perimeter.
- Redo-level: shower pan leak of any confirmed size, widespread hollow tile, mold that returns to the same surface after cleaning, soft subfloor at the shower threshold or near the toilet base.
Here’s the useful part. A true redo is often cheaper than the “patch it and hope” path because it stops the bleeding. The homeowners who call us after a patch that failed at six months end up paying for the patch plus the redo. If your bathroom is in this spot, tell the contractor you want the scope written down: what’s being removed, what’s being replaced, what the allowance for tile is, and what the change order process looks like if the joist system turns out worse than expected. If they can’t put that on paper before they start, walk.
Warranty Repair vs. Structural Failure: How to Tell the Difference
Contractor warranties are meant to cover defects in the work. They are not meant to cover structural problems the work revealed or failed to fix. Distinguishing those two is where homeowners often get the runaround, so here’s the practical test.
A warranty repair is bounded. A single tile cracked at a perimeter joint. A drain gasket leaking at the shower. A toilet running because of a flapper defect from the factory. A grout line that failed in the first six months. These are tied directly to a specific installed component, and a well-run contractor handles them without argument.
A structural or systemic failure is a pattern. Multiple tiles hollow at once. Water stains under the bathroom in a room below. A soft spot in the floor near the toilet base that gives under weight. Ventilation venting into the attic. Mold that returns after cleaning. These aren’t warranty line items. They’re indicators that the original install is not performing as designed, and they usually need scope, not a service call.
Pay attention to where the soft spot is. A soft spot near the toilet base is almost always water getting past the toilet seal at the floor flange, or a wax ring that was reused instead of replaced. A soft spot under the vanity is plumbing supply line leakage. Neither is a warranty call in the small sense. Both are signals that something was wrong during install. Our contractors have seen both many times across Miami Gardens bathrooms. The homeowners who ask us to look at it early usually spend far less than the ones who wait until the ceiling below has a stain on it. If you’re facing down a redo, look at the Fence Installation in Miami Gardens page for how we approach scope in writing; the process is the same on any sized job, construction through exterior work.
Common Mistakes to Avoid
- Skipping the flood test before tile. Ask any contractor you hire if they flood-test the pan for 24 hours before setting tile. If they don’t, they’re rolling the dice with your money. It’s the single cheapest safeguard in the entire bathroom remodel.
- Letting the exhaust vent into the attic. We open attics in Miami Gardens and find this on about one in four remodels we’re called in on. Confirm your fan ducts to daylight, not into the soffit or insulation.
- Choosing tile before checking the substrate. A beautiful tile on a floor that deflects is a short-lived floor. Have any contractor demonstrate how they’re checking joist deflection and substrate flatness before they set anything.
- Reusing old fixture parts. Reusing a toilet flapper, a wax ring, or a faucet cartridge during a remodel is a false savings. These parts fail, and they fail at the worst time. New installs need new components, and the price of replacement parts is trivial next to the cost of pulling tile.
- Setting up the fan on a short timer. A ten-minute timer doesn’t dry a twenty-minute shower. Humidity-sensing switches, or timed switches with a 20 – 30 minute run, are the standard we install.
- Hiring a contractor who won’t show you the license. A name, an address, and a license number should be verifiable before they start. If the contractor pushes back on that, it’s a warning, not a preference.
- Not asking for the change order process. Any contractor who says “we’ll figure it out if we run into something” is telling you there’s no process. Ask what written change orders look like, in advance.
See the difference
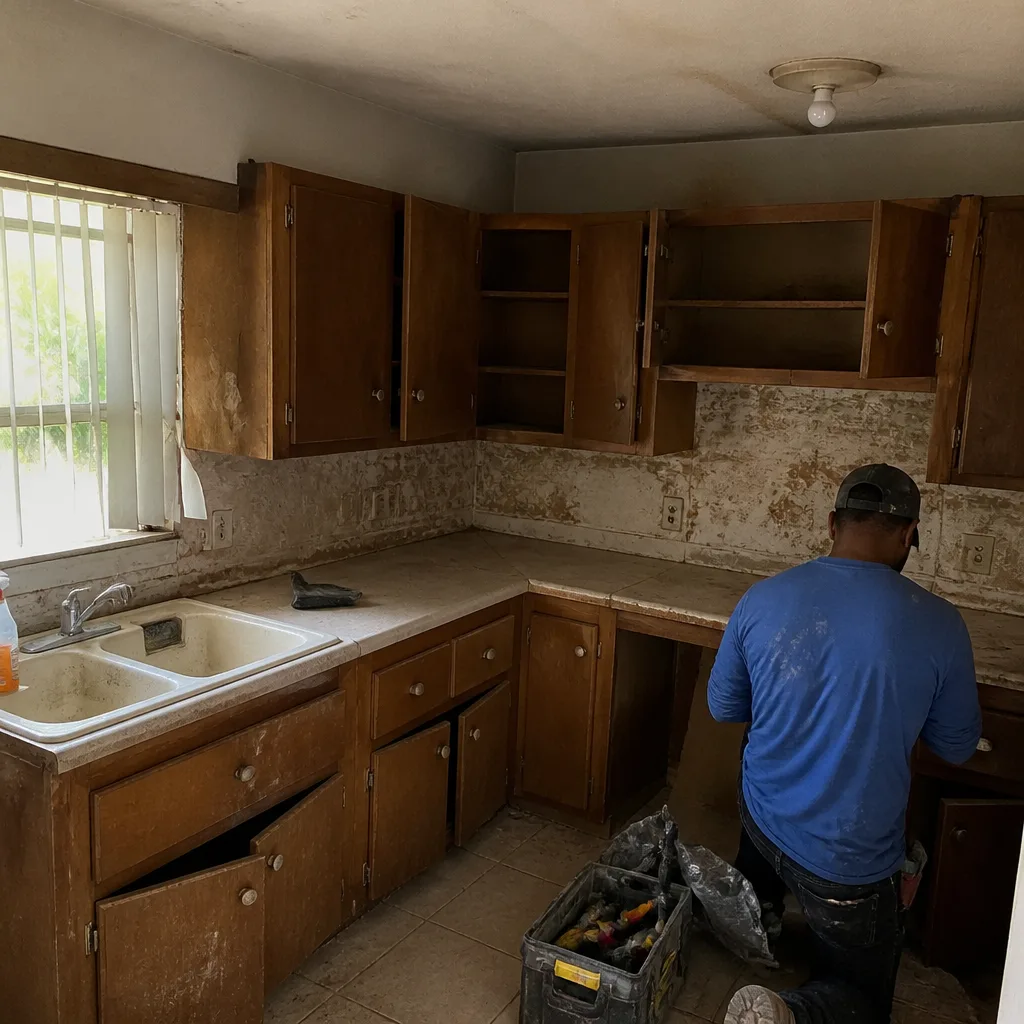 Before
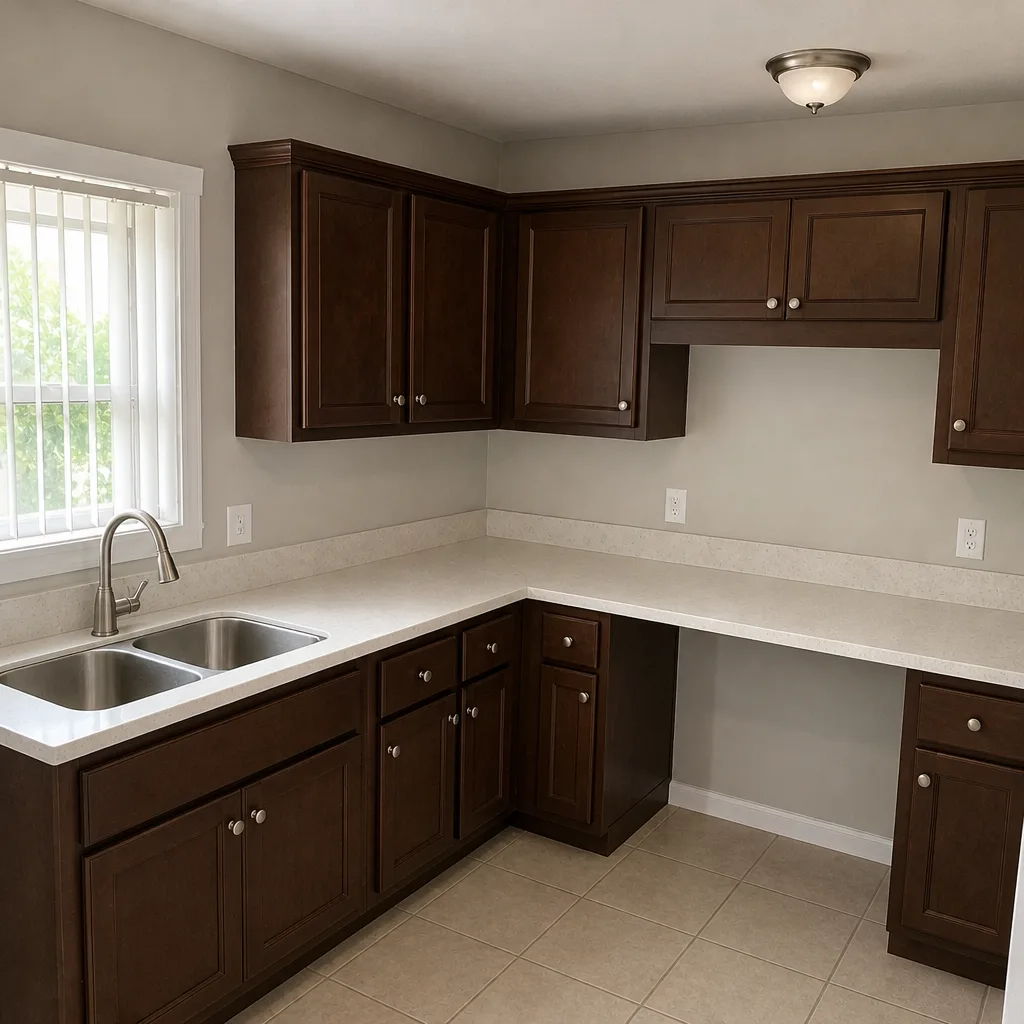 After
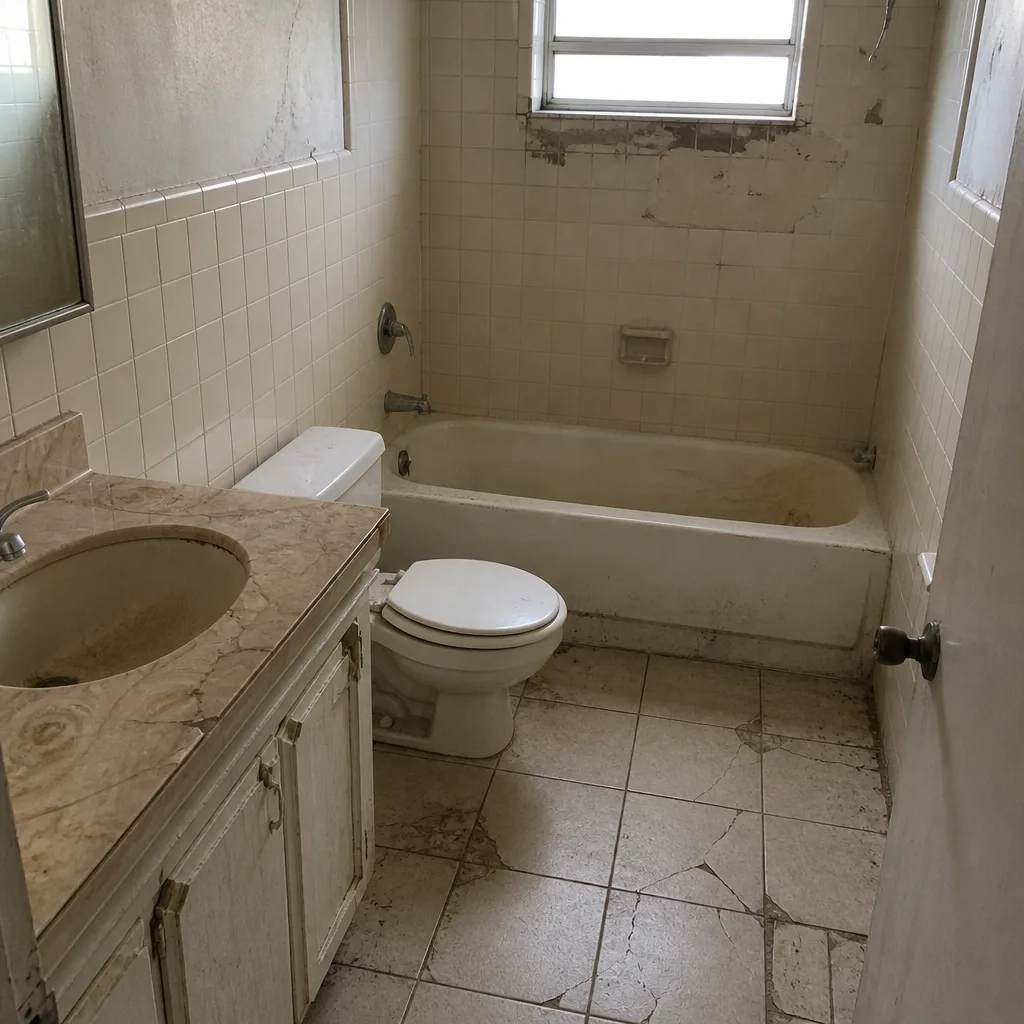 Before
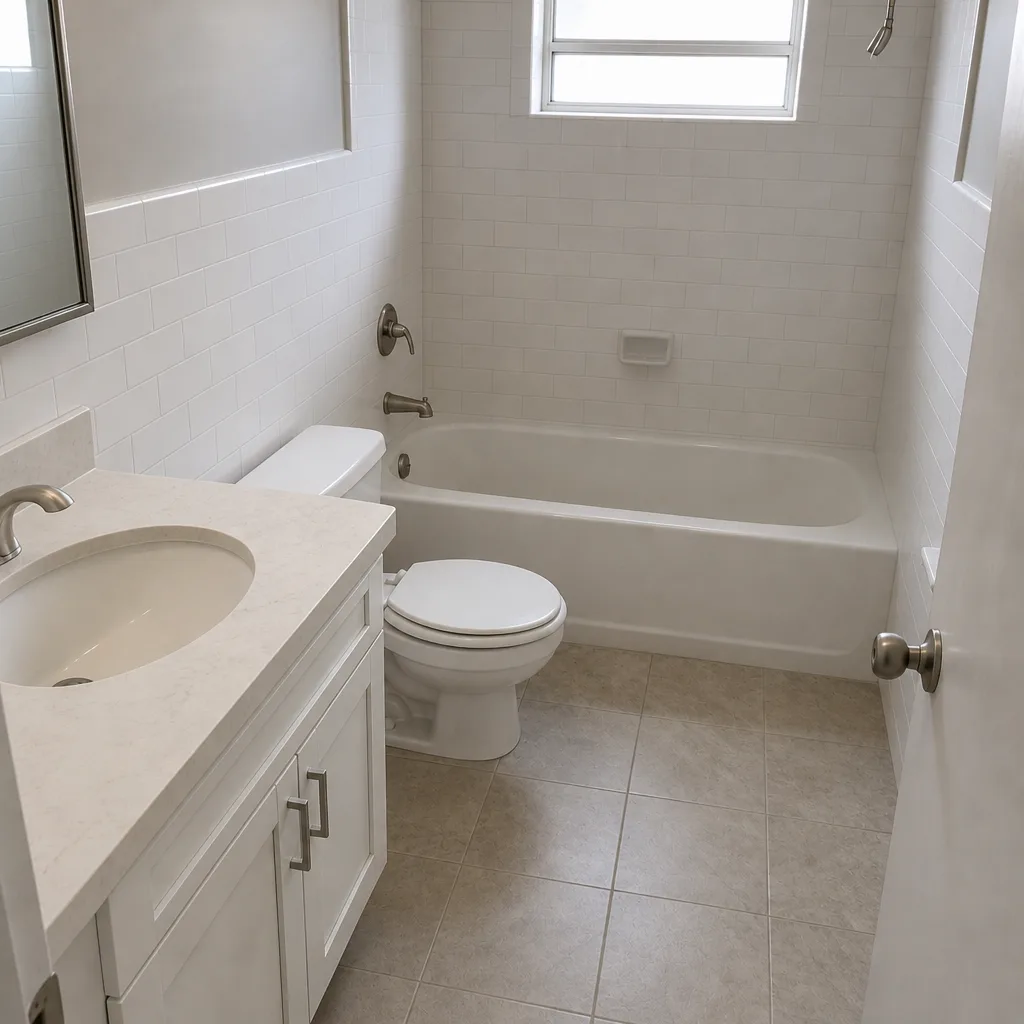 After
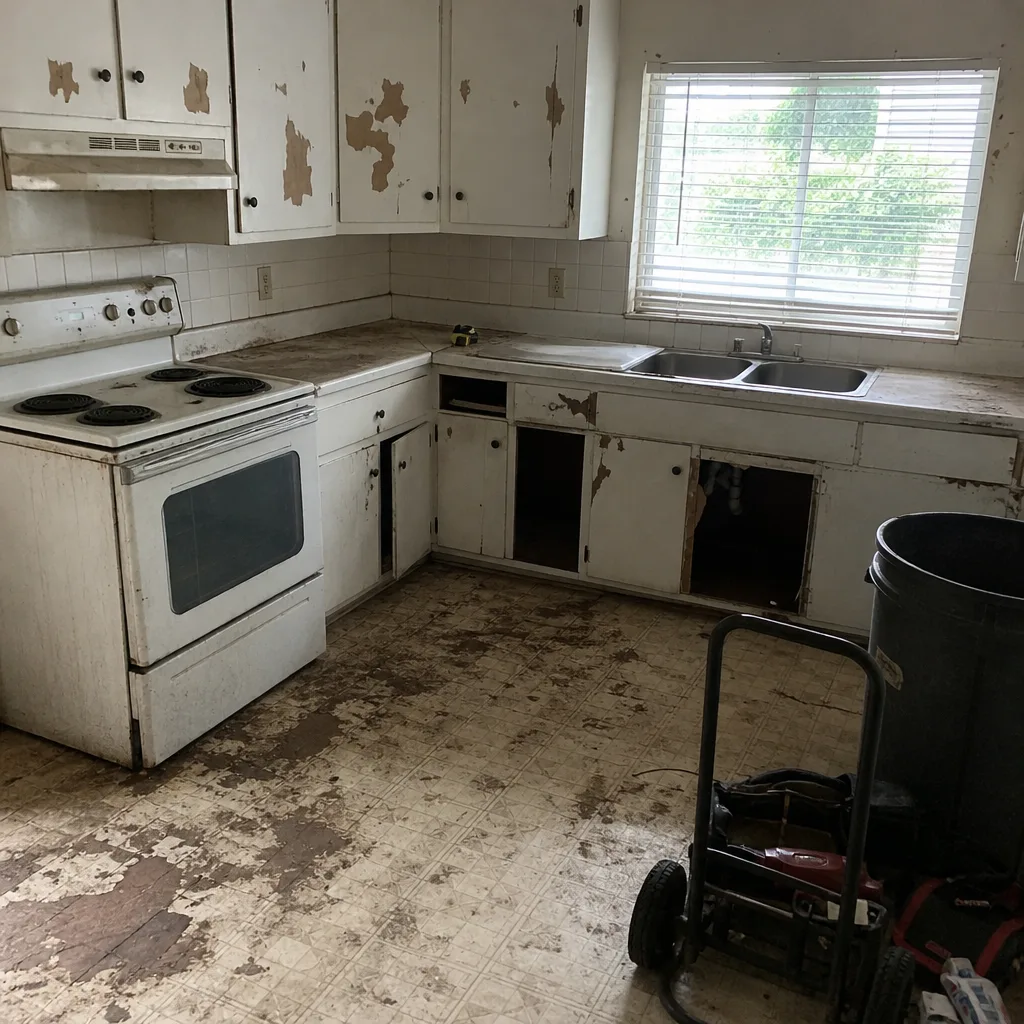 Before
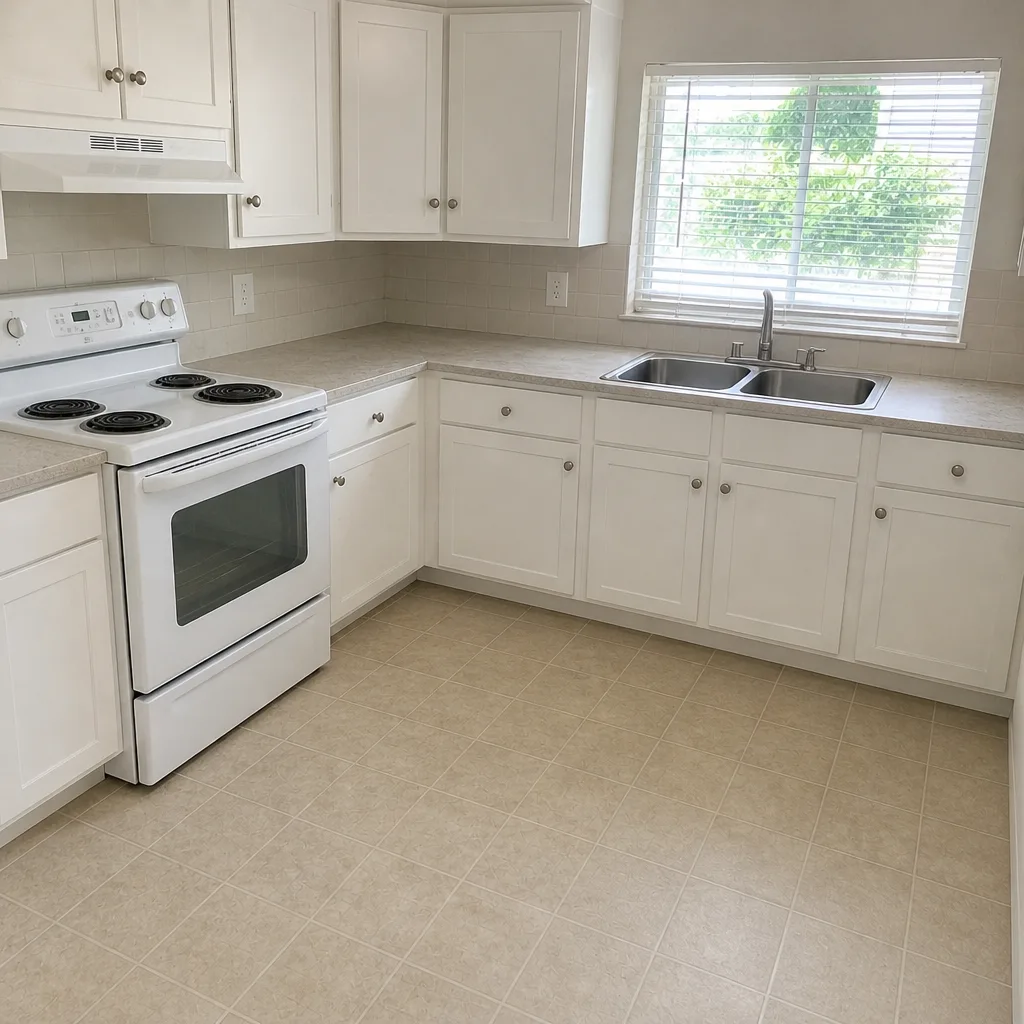 After
When to Call a Professional
Some of this work belongs in a homeowner’s hands, and some doesn’t. Call a professional immediately if you have water stains on a ceiling under the bathroom, a shower pan that dropped water level by more than a quarter inch during the flood test, mold that keeps returning to the same surface within days of cleaning, a soft spot anywhere on the bathroom floor, or an exhaust fan ducting into the attic. Those are the situations where a patch makes it worse and a proper scope makes it right. The repair-versus-redo call is the hardest one to make on your own, and it’s the one worth getting a second opinion on. Barrett & Sons Construction Miami Gardens offers free estimates in Miami Gardens, and we’ll walk the bathroom with you and tell you what we see before anything is opened up. Call (844) 797-8316.
Frequently Asked Questions
No. Hairline grout cracks that appear in the first six to twelve months and then stop moving are often normal settling. Grout that cracks in repeating patterns, follows a straight line across multiple tiles, or feels hollow underneath when tapped is a substrate or deflection issue. In Miami Gardens, the seasonal humidity swing from winter to summer makes some of that first-year movement more pronounced, so a single small crack that stabilizes is usually maintenance, not a call to the contractor.
A flood test tells you. Plug the drain, fill the pan to about an inch above the highest sloped point, mark the water level, and wait 24 hours without using the shower. If the water level drops more than a quarter inch, the pan is leaking, and the fix is a redo, not a repair. Call us at (844) 797-8316 and we’ll flood test it in person if you’d rather have a pro confirm before the tile comes off.
Either the fan is undersized or the duct is going the wrong place. A fan should move at least one CFM per square foot of bathroom. A ten-minute timer isn’t enough for a twenty-minute shower. And if the duct terminates in the attic rather than outside the house, the moisture is staying inside and loading the attic space. Any of these is fixable, and all three are worth checking together.
Usually, yes. A running toilet after a fresh remodel is almost always a flapper, fill valve, or valve seat damaged during install, and that’s a warranty item on any written contract. If the flapper is one that was reused from the old toilet, that’s on the contractor, not you. If it turns out to be a supply valve seat nicked during the plumbing work, that’s still their work. The exception is a fill valve that’s simply failing from factory defect, which happens but is rare.
Yes, for anything beyond a cosmetic finish swap. Plumbing relocation, electrical work, structural changes, and shower pan replacement all require permits in Miami Gardens, and the inspection sign-off is what protects the homeowner down the line. Ask any contractor you hire to pull the permit in their name and schedule the inspections. If they say permits are optional, that’s a disqualifier, not a cost savings.
A correctly built bathroom should give you fifteen to twenty years of steady service with routine caulk and grout maintenance along the way. The failures we’re describing in this guide show up in the first twelve to eighteen months, because they’re install problems, not lifespan problems. If your bathroom is still fine at year three, you’re past the failure window and into maintenance territory. If problems are showing up in year one, that’s the answer right there.
The Bottom Line
The bathroom problems that prompt the “what went wrong” phone call cluster around four failure points: shower pan waterproofing, tile substrate and setting bed, ventilation, and fixture installation. Every one has a homeowner test you can run, and every one has a signature that tells you whether it’s a warranty repair or a structural redo. In Miami Gardens, the seasonal humidity adds a wrinkle worth respecting; some failures don’t show until summer, and a homeowner who knows that isn’t going to panic over a caulk line but is going to call about a soft spot at the toilet base. The most useful question to ask the next contractor isn’t about price. It’s whether they flood-test the pan, check the joist deflection, duct the fan outside, and put the whole scope in writing before they start.
If your bathroom is in trouble right now, or you’re planning a project and want to get ahead of these four failure points, call Barrett & Sons Construction Miami Gardens at (844) 797-8316 for a free estimate. We’ll walk your bathroom with you, tell you what we see, and put the scope, allowances, and change order process in writing before anything is touched. Free second opinion on any written estimate you’ve already received, no trip charge inside the county, and a permanent 10% Senior & Veteran discount are all standing offers. Our contractors have up to 28 years of experience and every eligible job gets permits pulled, inspections signed, and the 90-Day Done Right Promise in writing on the contract.
Written by the team at Barrett & Sons Construction Miami Gardens.